 |
|
Sign up for GitHub
|
|
Follow the instructions here. Select the "Free" version.
|
|
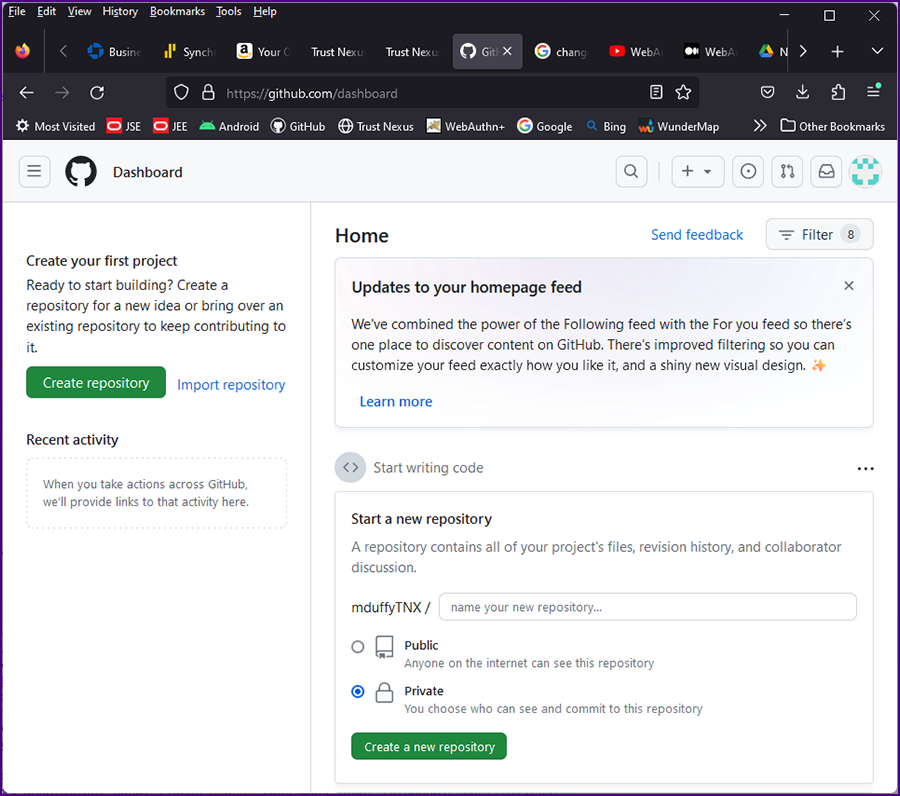
After successfully signing up, you will be taken to this page:
|
|
|
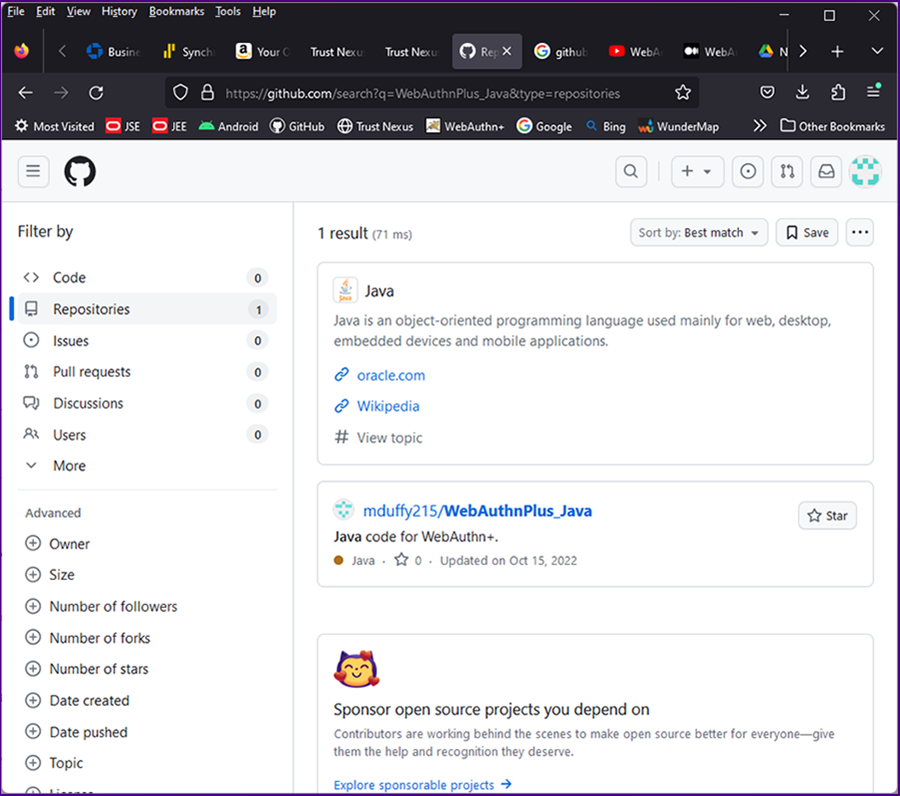
In the "Search" textbox (at the top right of the page) enter, "WebAuthnPlus_Java". You will be taken to this page:
|
|
|
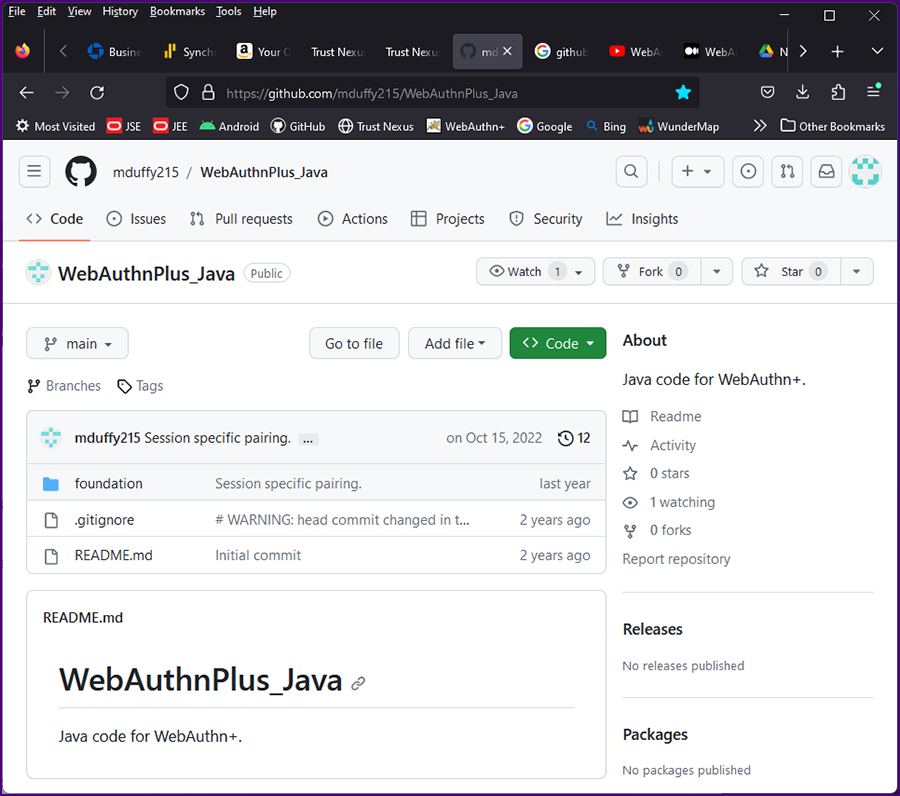
Click on the link "mduffy215/WebAuthnPlus_Java". You will be taken to this page:
|
|
|
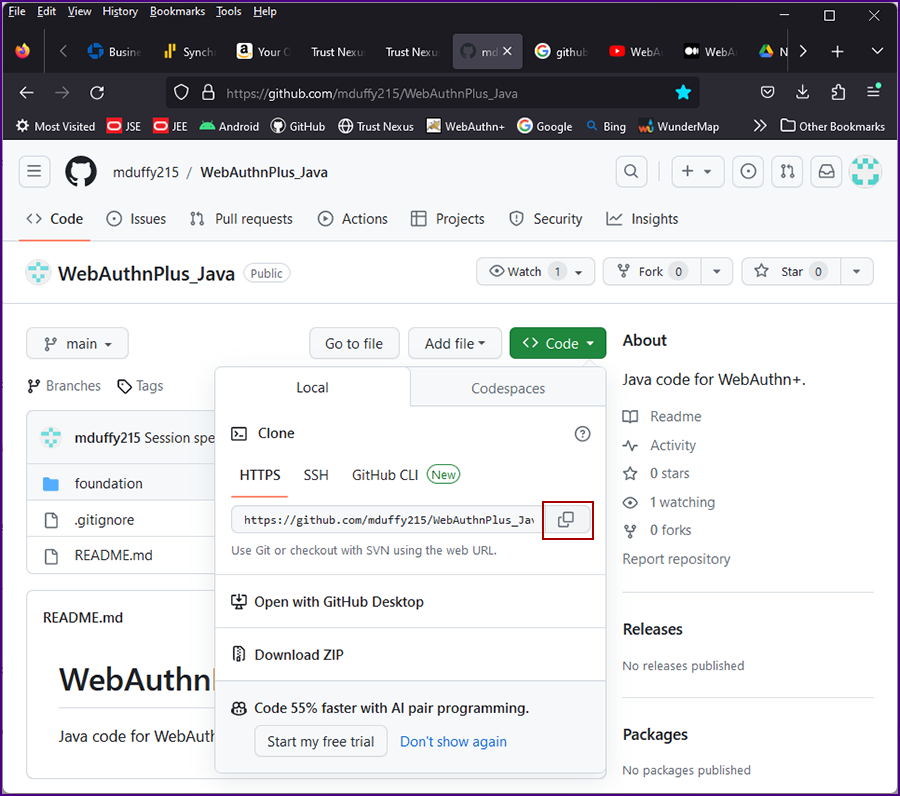
Click on the green "Code" button then click on the icon for "copy to clipboard" [red box below]; this will copy the repository URL to your clipboard.
|
|
|
|
Create The Project in Eclipse
|
|
Note: The name of the code repository is "WebAuthnPlus_Java"; the name of the Eclipse project is "foundation".
|
|
Once you have the repository URL from GitHub, you can easily checkout the "foundation" project into Eclipse.
|
|
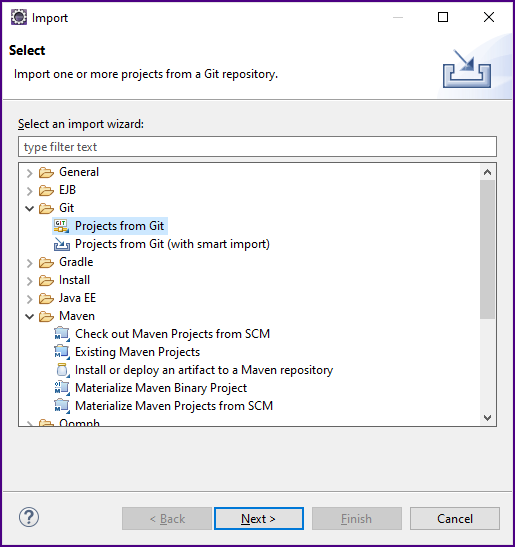
Within Eclipse, clik on the File dropdown menu and select Import. The "Import Select" screen is displayed.
|
|
|
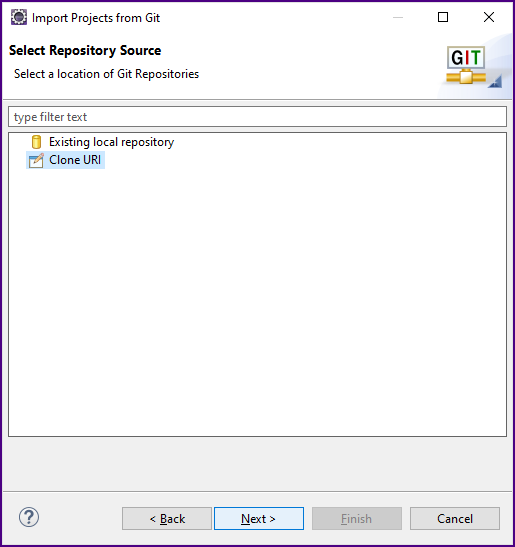
Expand the "Git" options and select "Projects" from Git; click "Next". The "Select Repository Source" screen will be displayed.
|
|
|
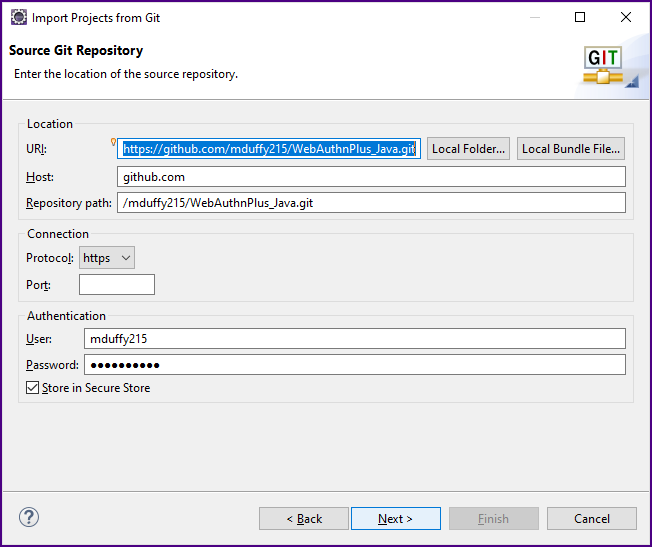
Select "Clone URI" and click "Next". The "Source Git Repository" screen will be displayed.
|
|
|
Because the repository URL was copied to your clipboard (above), this form should auto-populate; if not, paste the URI into the form. Enter your "User" name and "Password" and click "Next".
|
|
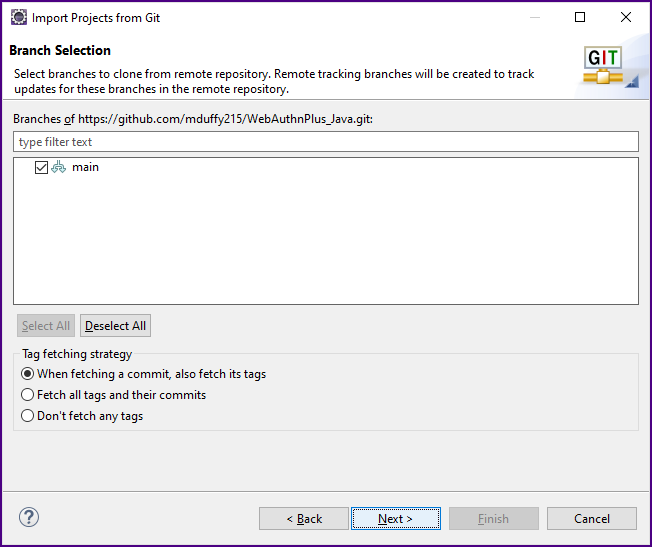
The "Branch Selection" screen will be displayed.
|
|
|
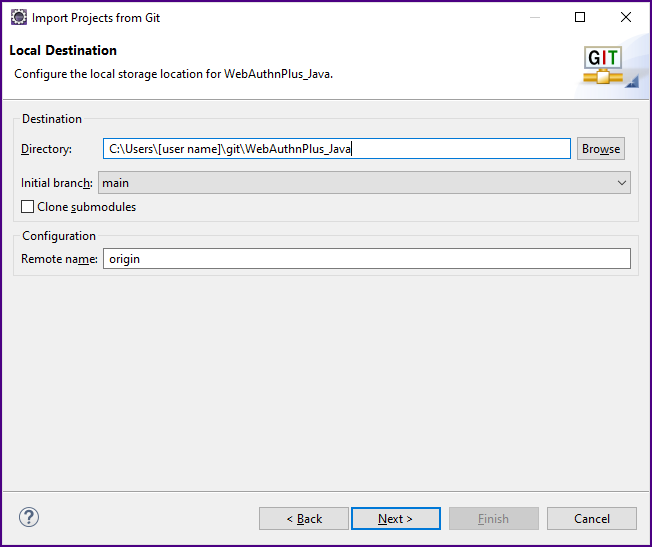
Select "Main" and click "Next". The "Local Destination" screen will be displayed.
|
|
|
Select the directory, set the "Initial branch" to "main" and click "Next". The "Import Wizard" screen will be displayed.
|
|
|
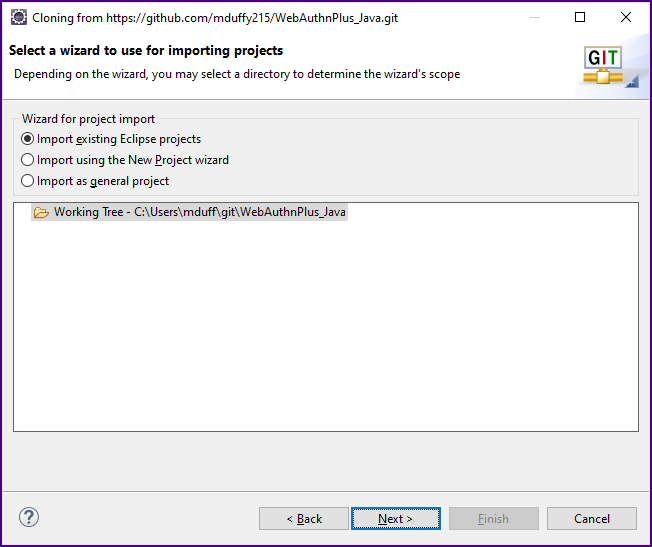
Select "Import existing Eclipse projects" and click "Next". The "Import Projects" screen will be displayed.
|
|
|
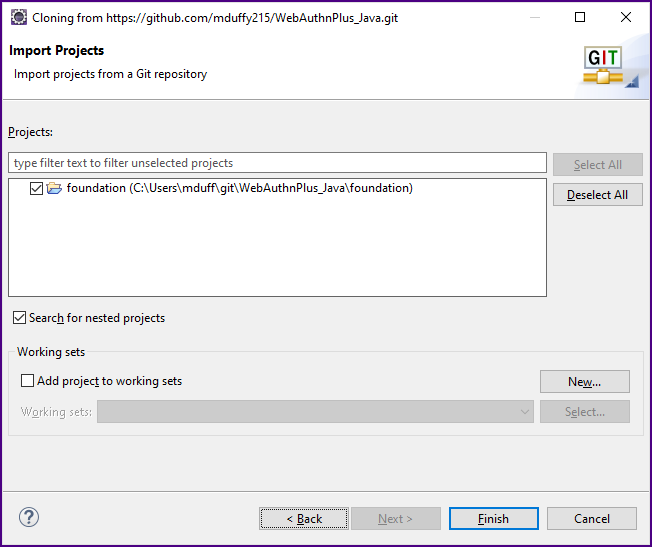
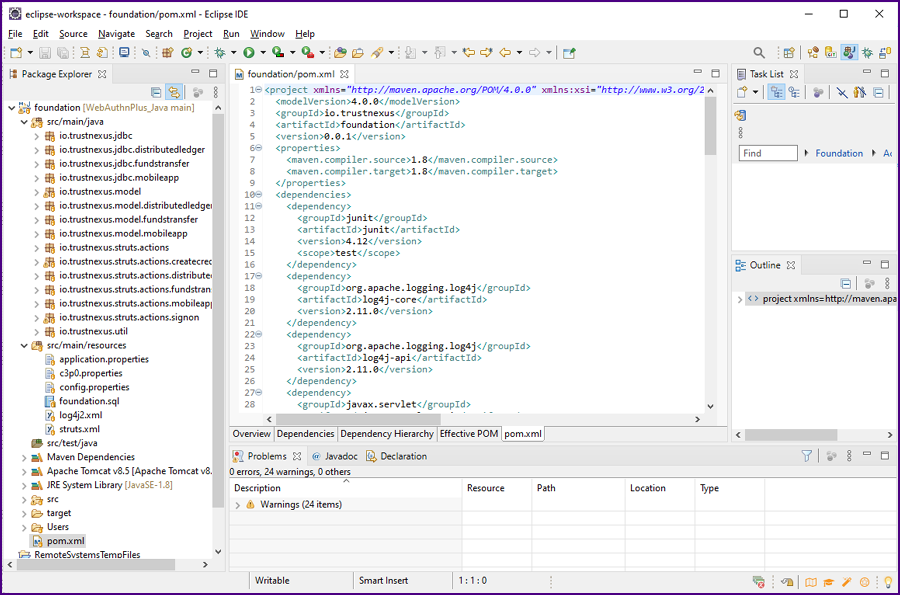
Select "foundation" and click "Finish". The project will open in Eclipse. Give it a minute to build and most of the red error icons will disappear.
|
|
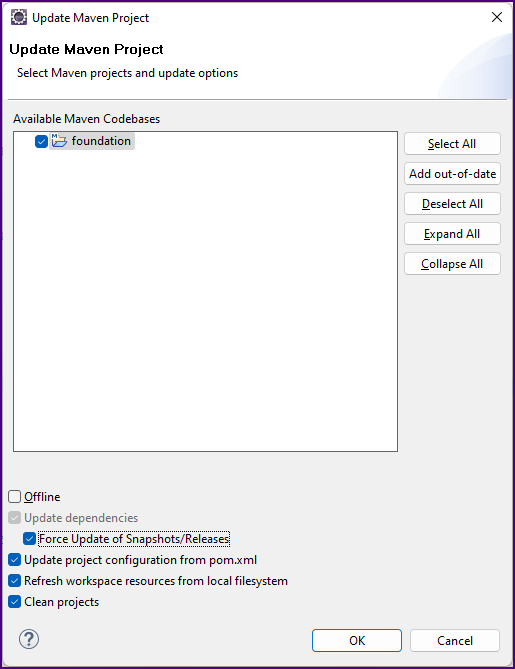
There may be some weirdness in the Eclipse/Maven build. If your red error icons do not go away, right click on the project name ("foundation") then
select "Maven >> Update Project", the "Update Maven Project" screen will be displayed.
|
|
|
Make sure the checkbox "Force Update of Snapshots/Releases" is checked then click ""OK". The project will rebuild, removing most of the errors. There should be just one error in the project: "Target runtime Apache Tomcat v8.5 is not defined." Once we install the Tomcat web application server we will fix that error.
|
|
In code and in project documentation it is always good to provide a reference when a problem is fixed. Many thx to "Peter T." for his answer to this
Stack Overflow question: https://stackoverflow.com/questions/15334394/could-not-transfer-artifact-org-apache-maven-pluginsmaven-surefire-pluginpom2
|
|
|
The remaining red error icon will disappear when we install the Tomcat web application server.
But first, we will install the MySQL relational database management system (RDBMS) and create the project database.
|
|
|
|
|
|