 |
|
Download and Install MySQL
|
|
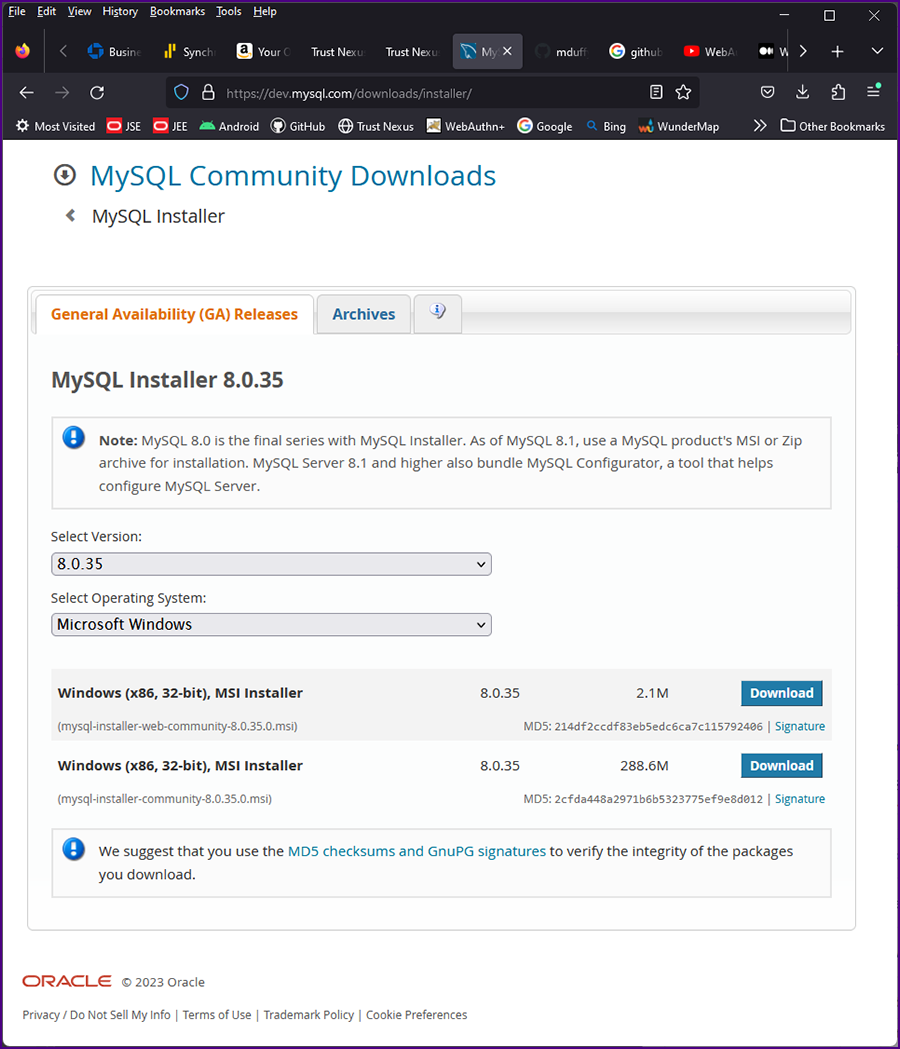
Choose the download executable for your system here.
|
|
We will follow the MySQL Installer for Windows.
|
|
|
Click "Download" for the second option "(mysql-installer-community-8.0.29.0.msi)", not the "web" option.
|
|
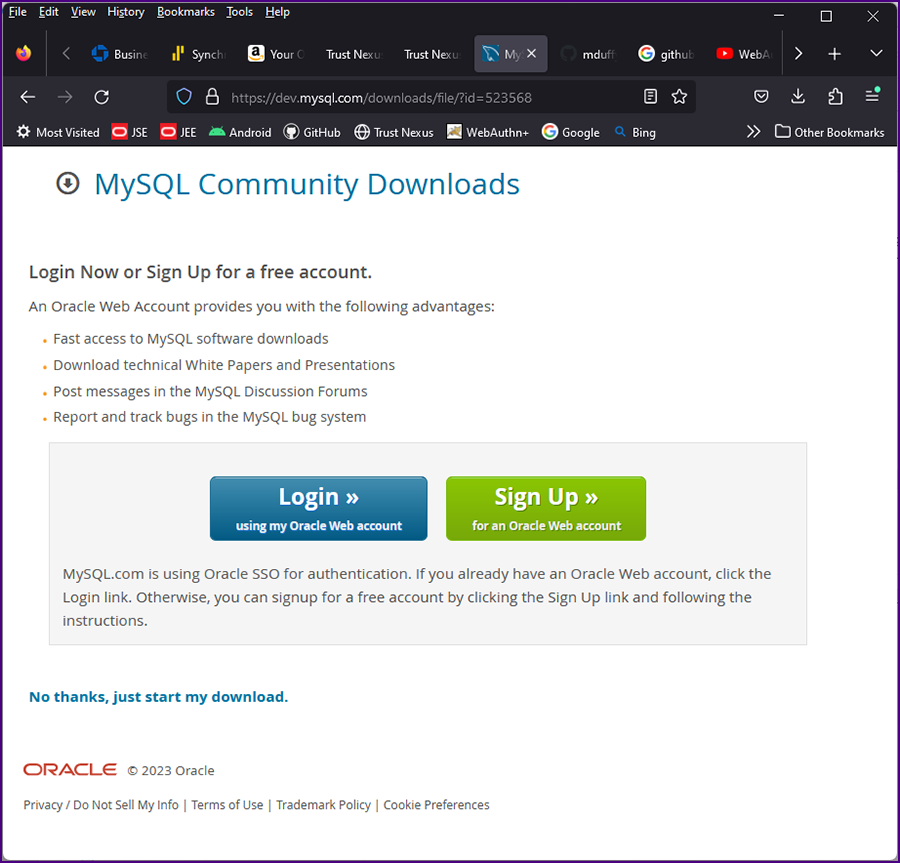
The "Login/Sing Up" page will be displayed.
|
|
|
You can skip the "Login/Sing Up" process by clicking on "No thanks, just start my download."
|
|
Run the downloaded executable. The "Choosing a Setup Type" screen will be displayed.
|

|
|
Select "Full" and click "Next".
|
|
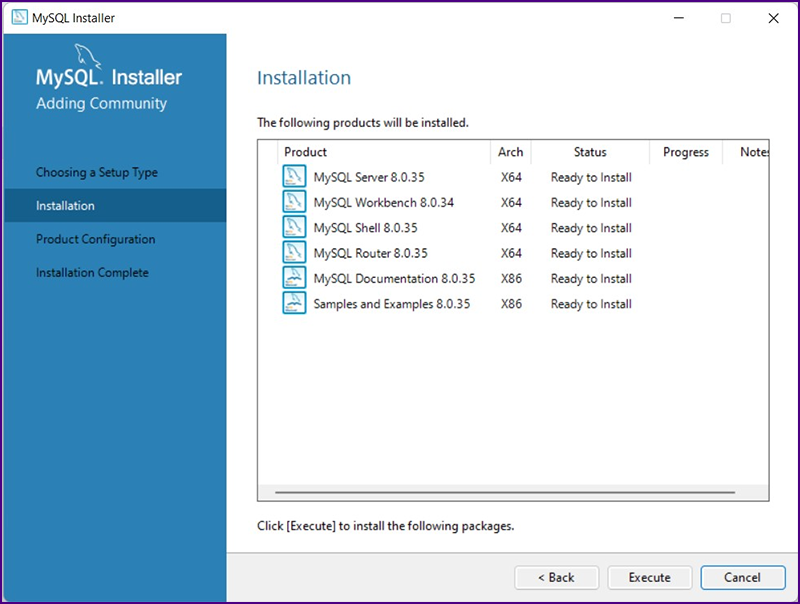
The "Installation" screen will be displayed.
|
|
|
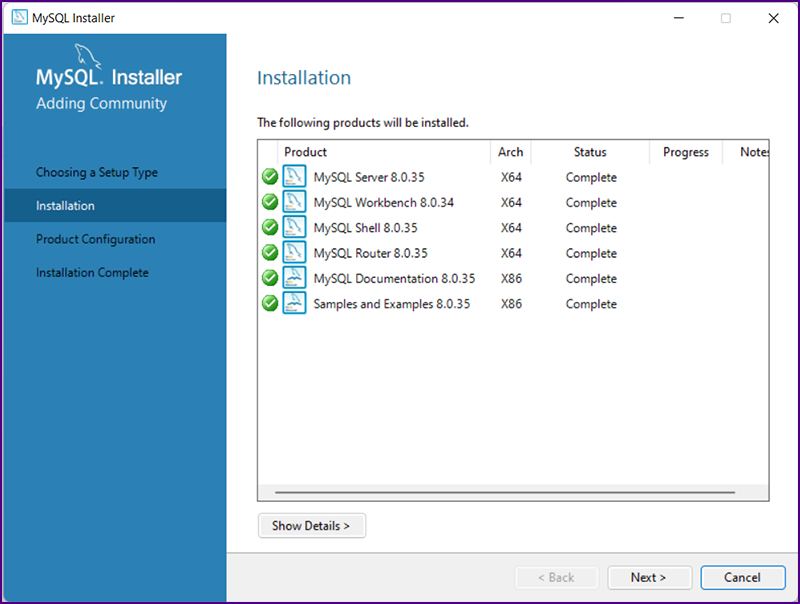
Cick "Execute". The products will be installed and checked off the "Installation" screen.
|
|
|
Cick "Next". The "Product Configuration" screen will be displayed.
|

|
|
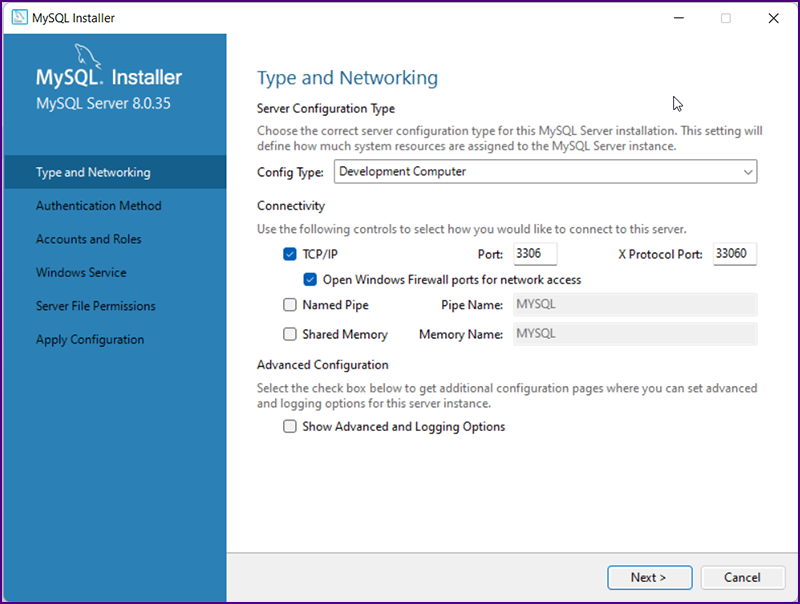
Cick "Next". The "Type and Networking" screen will be displayed.
|
|
|
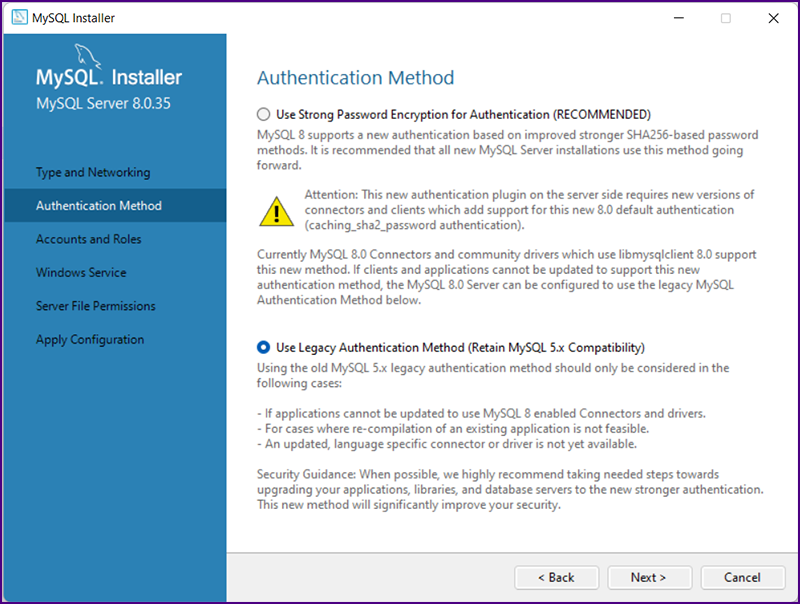
Accept the defaults and cick "Next". The "Authentication Method" screen will be displayed.
|
|
|
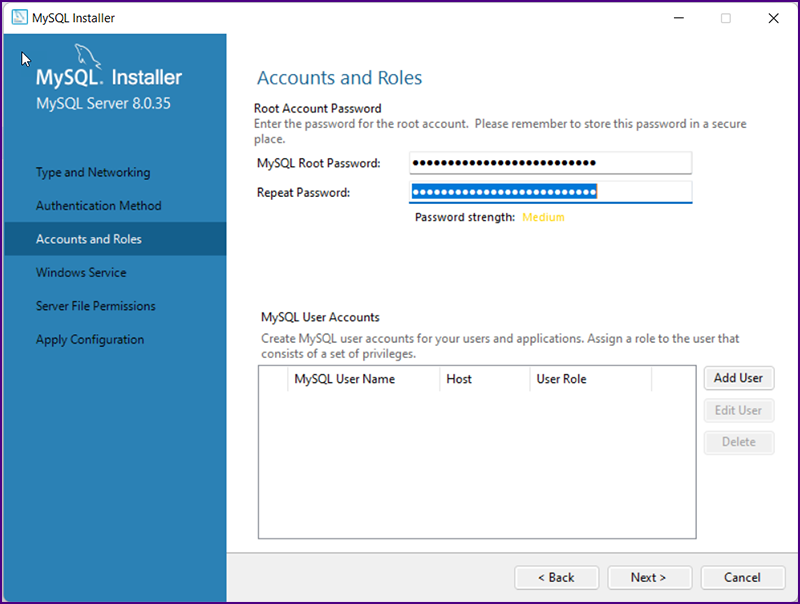
Select "Use Legacy Authentication Method" (convenience on a DEV server) and cick "Next". The "Accounts and Roles" screen will be displayed.
|
|
|
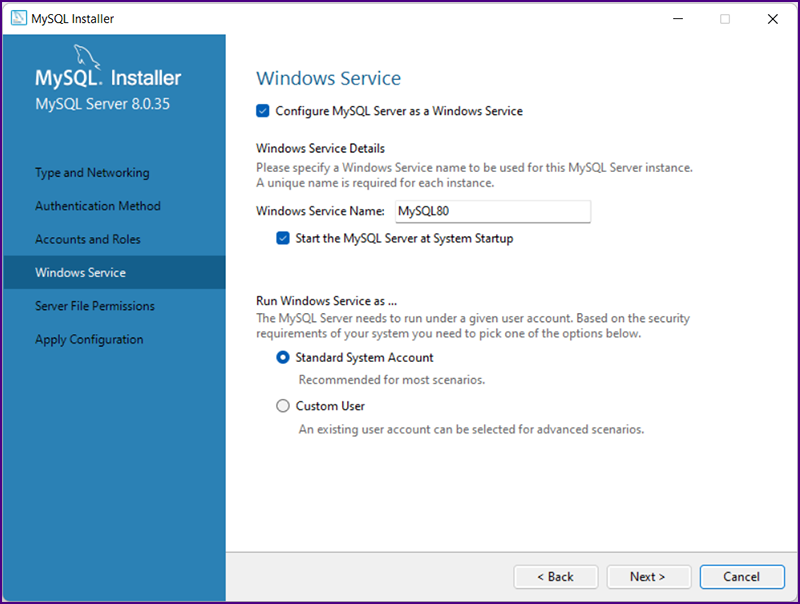
Set your password and cick "Next". The "Windows Service" screen will be displayed.
|
|
|
Accept the defaults and cick "Next". The "Server File Permissions" screen will be displayed.
|
|
|
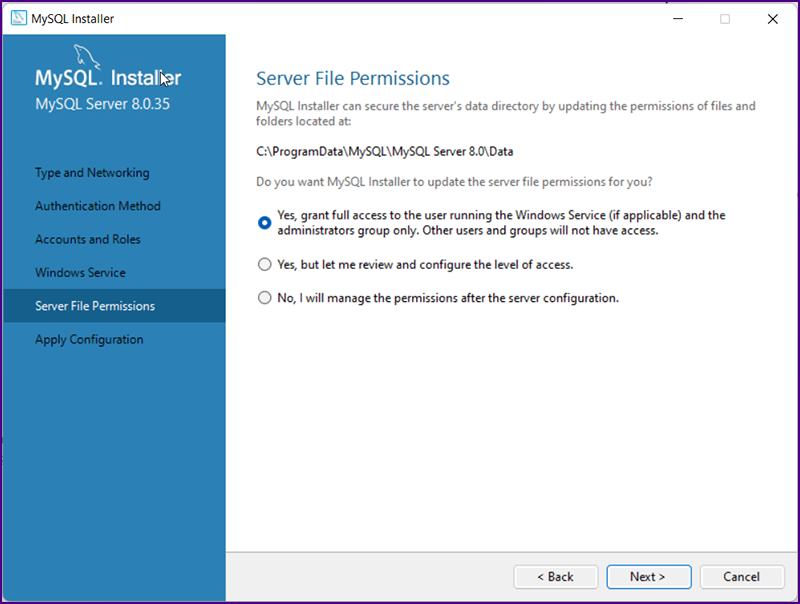
Accept the defaults and cick "Next". The "Apply Configuration" screen will be displayed.
|
|
|
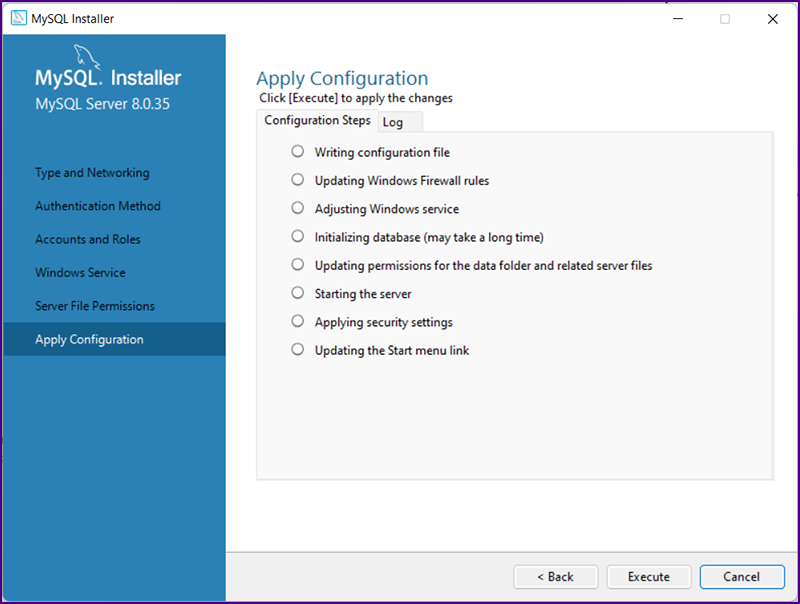
Click "Execute". The configurations will be applied.
|
|
|
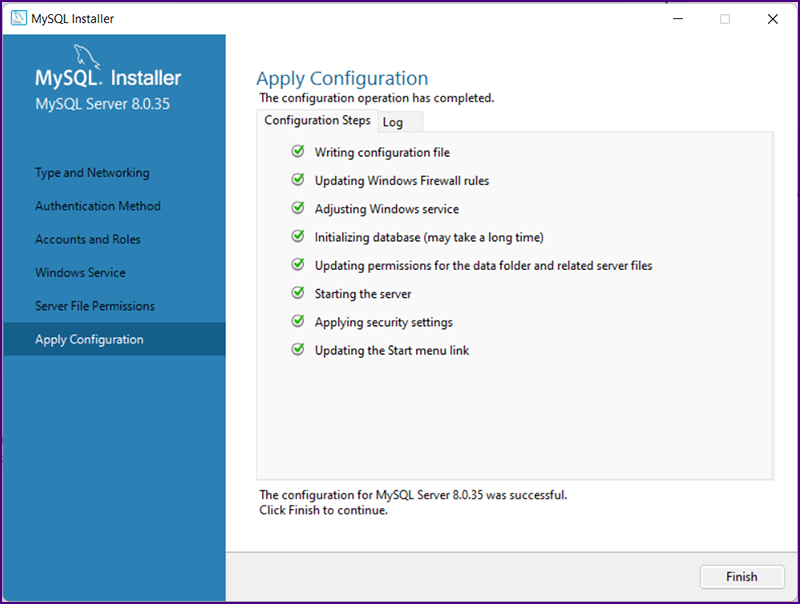
Click "Finish". The "Product Configuration" screen will be displayed.
|

|
|
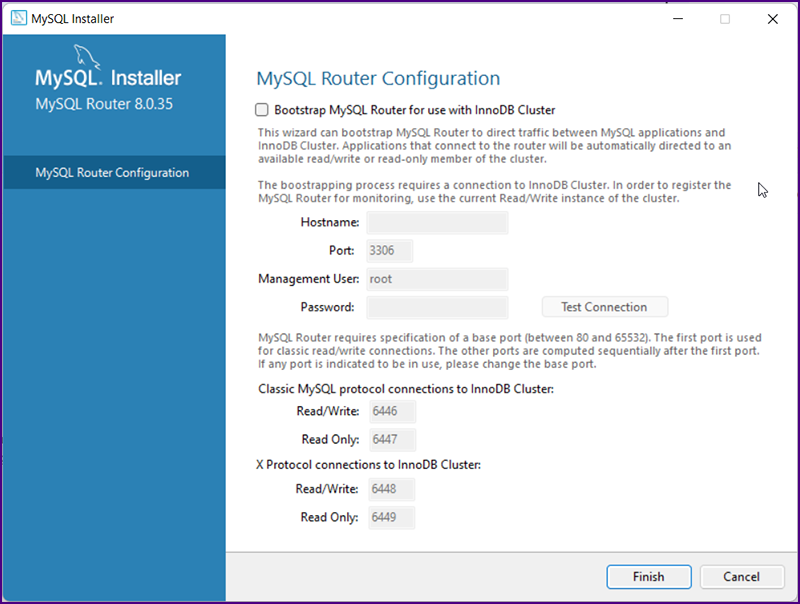
Click "Next". The "MySQL Router Configuration" screen will be displayed. There is no need to configure a router on a local DEV server.
|
|
|
Click "Finish". The "Product Configuration" screen is displayed.
|

|
|
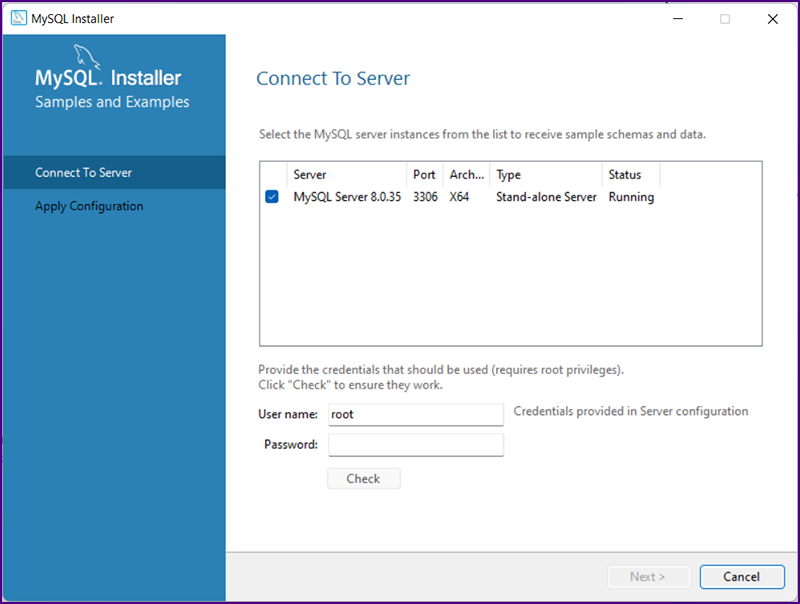
Click "Next". The "Samples and Examples" are processed and the "Connect to Server Screen" is displayed.
|
|
|
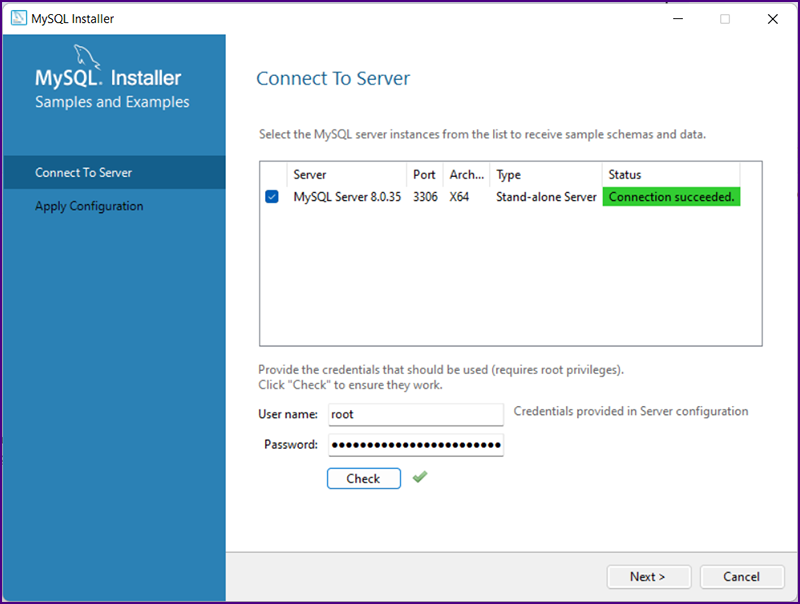
Enter your password and click "Check". The connection to the server will be tested; the status shoulds be "Connection succeded".
|
|
|
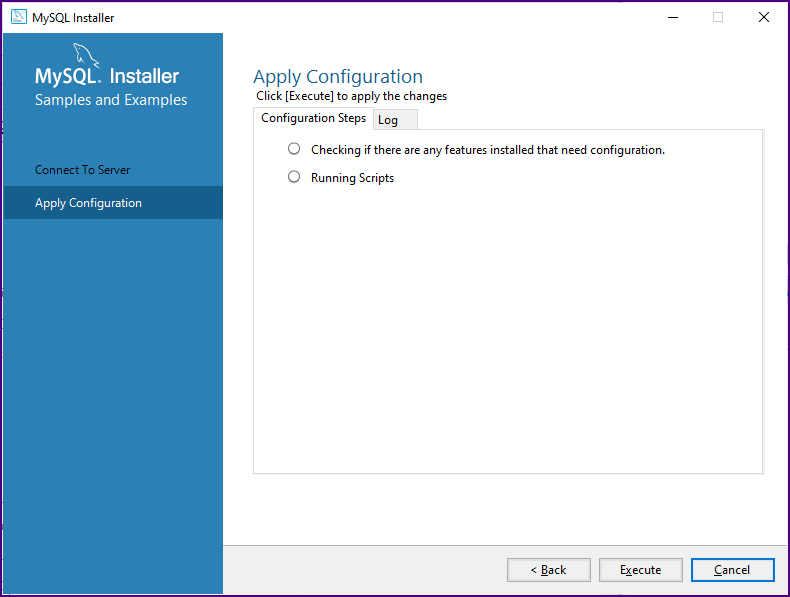
Click "Next". The "Apply Configuration" screen will be displayed.
|
|
|
Click "Execute". The configurations will be applied.
|

|
|
Click "Finish". The "Product Configuration" screen will be displayed..
|
|
|
|
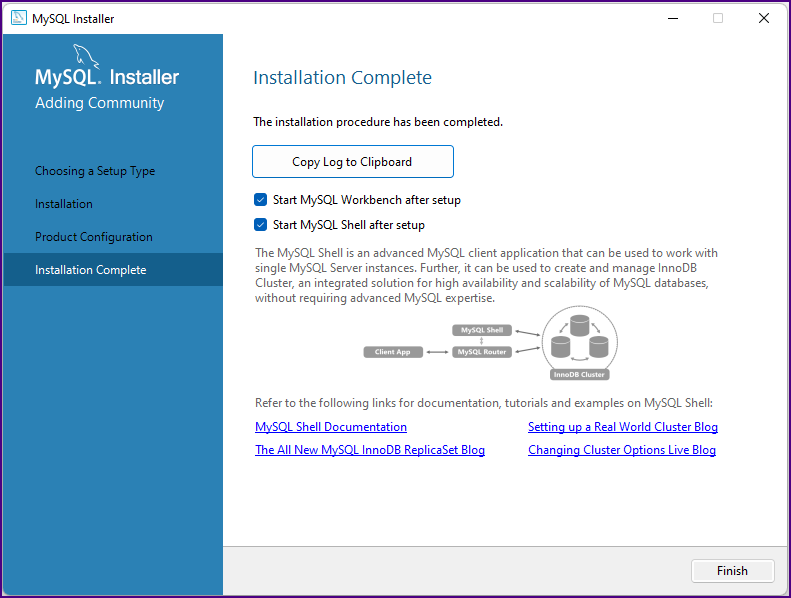
Click "Next". The "Installation Complete" screen will be displayed..
|
|
|
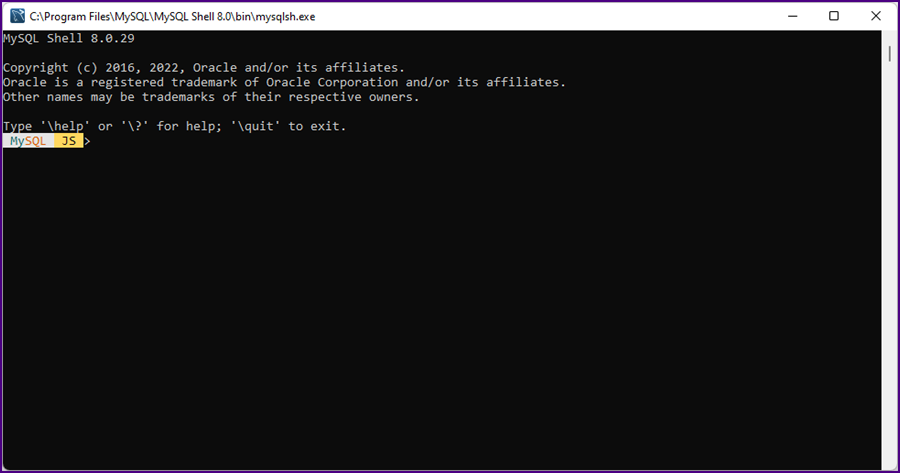
Click "Finish". Two screens will be displayed; first the "MySQL Command Shell". Go ahead and close this command window, it is not needed for now.
|
|
|
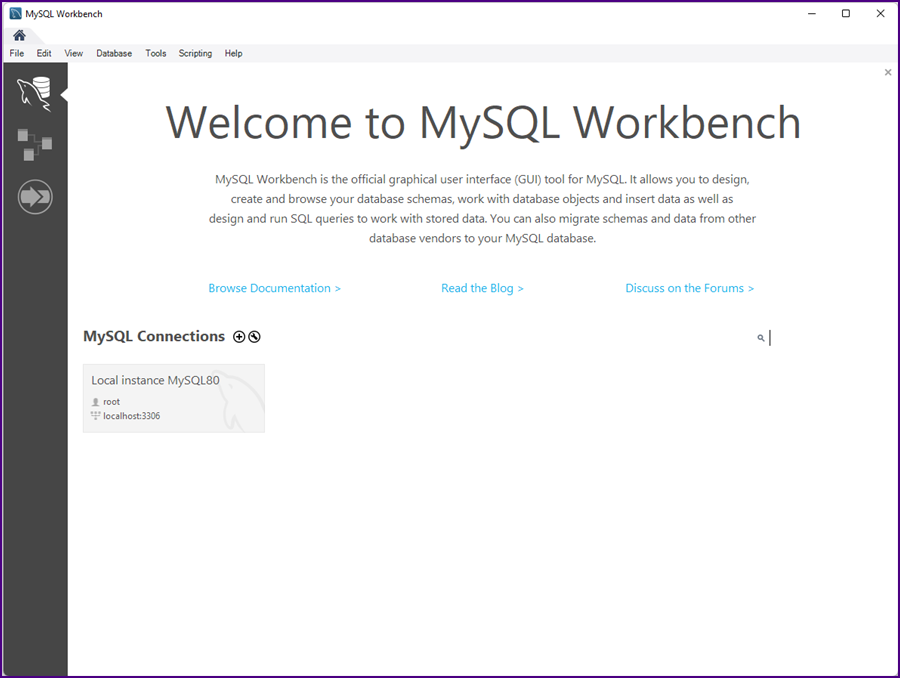
The "Welcome to MySQL Workbench" screen will also be displayed.
|
|
|
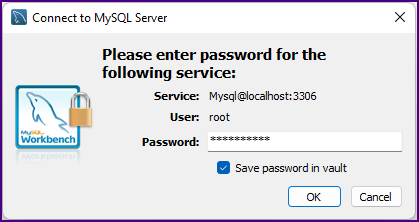
Click on "Local instance MySQL80". The "Connect to MySQL Server" password screen will be displayed.
|
|
|
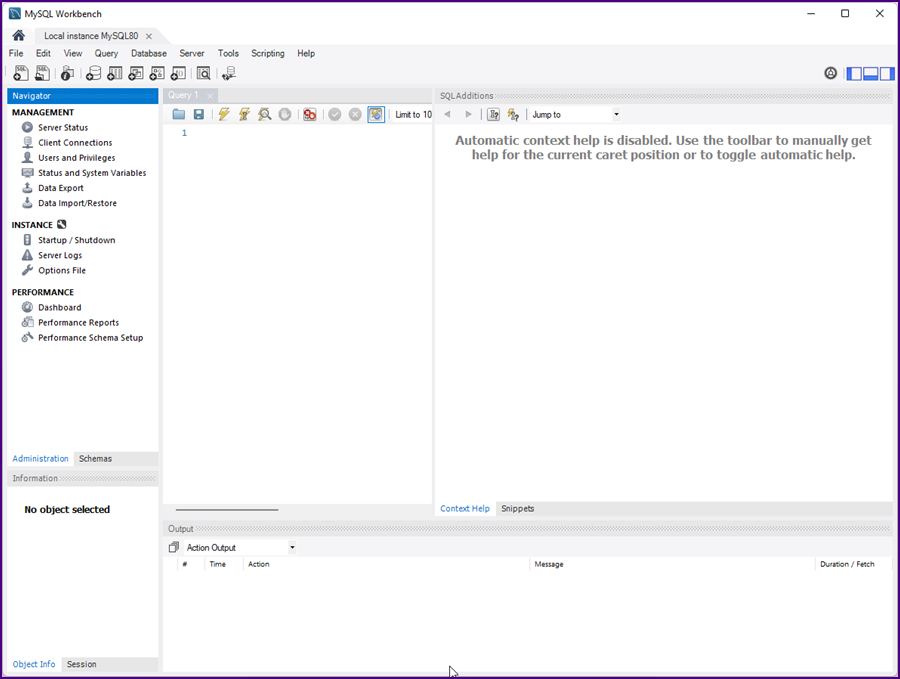
Enter your password and check "Save password in vault". The "MySQL Workbench" main screen will be displayed. You're in!
|
|
|
|
|
|
|