 |
|
Configure the Dynu IP Update Client
|
|
Your Internet service provider may suddenly change the IP address of your Internet modem (although it really does not happen that often).
The safeguard against this is to install an IP Update Client, insuring your domain name will always be associated with the correct IP address.
|
|
Go to the Dynu IP Update Client
page and download the client for your operating system. The following example is for Windows.
|
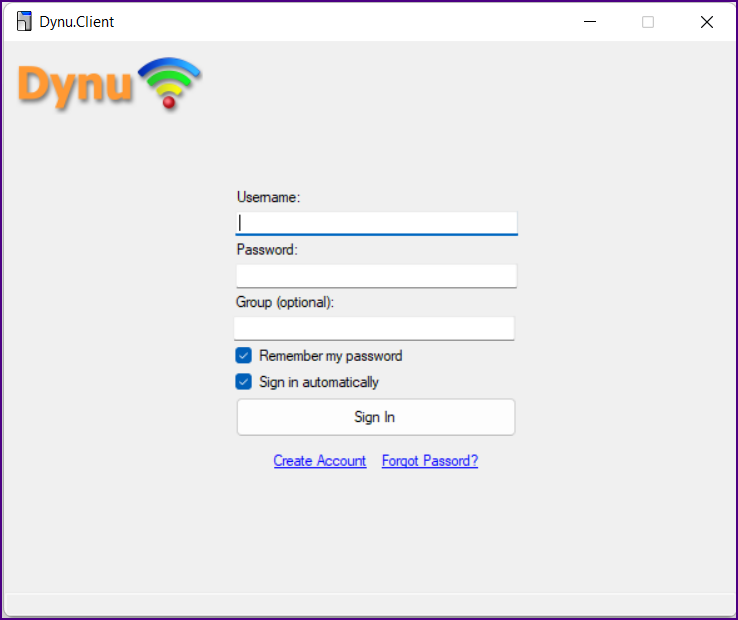
The setup executable is simple to run; just accept the defaults. When setup is complete the "Sign In" page will be displayed.
Use your user name and password for the Dynu website and sign in.
|
|
|
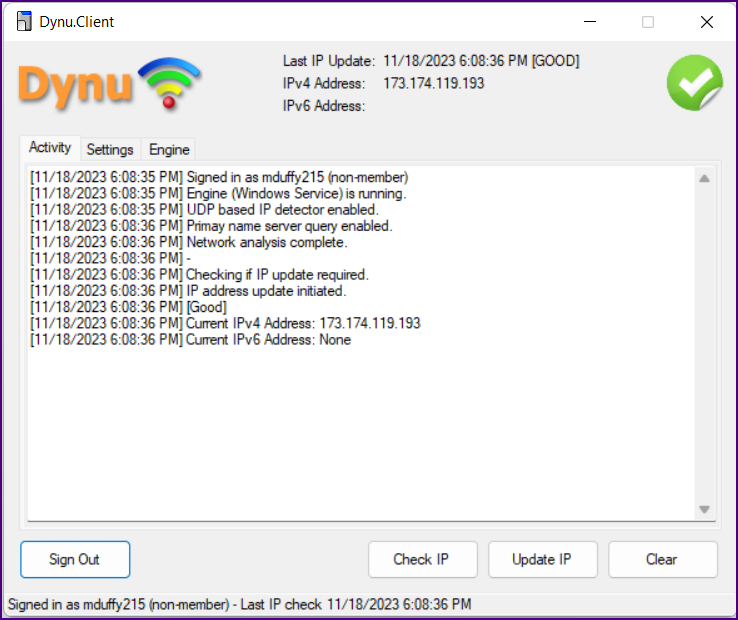
Once you sign in the "Activity" tab is displayed displayed.
|
|
|
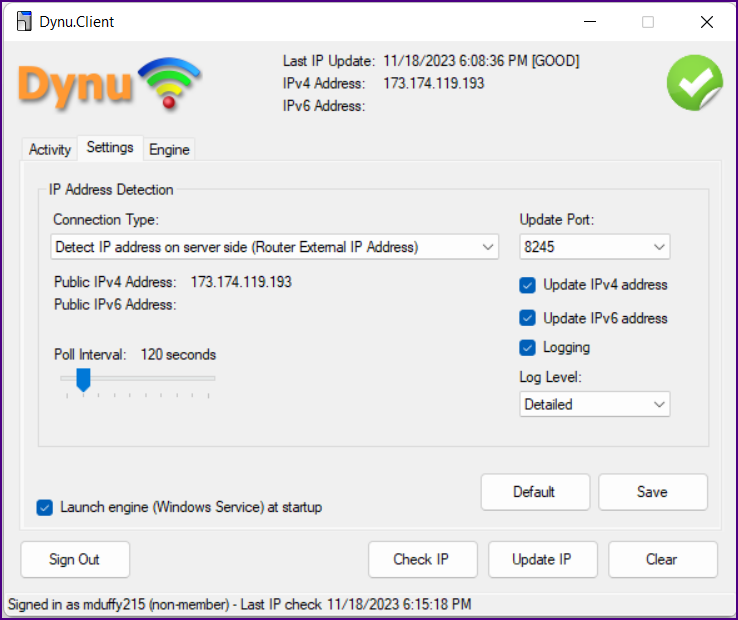
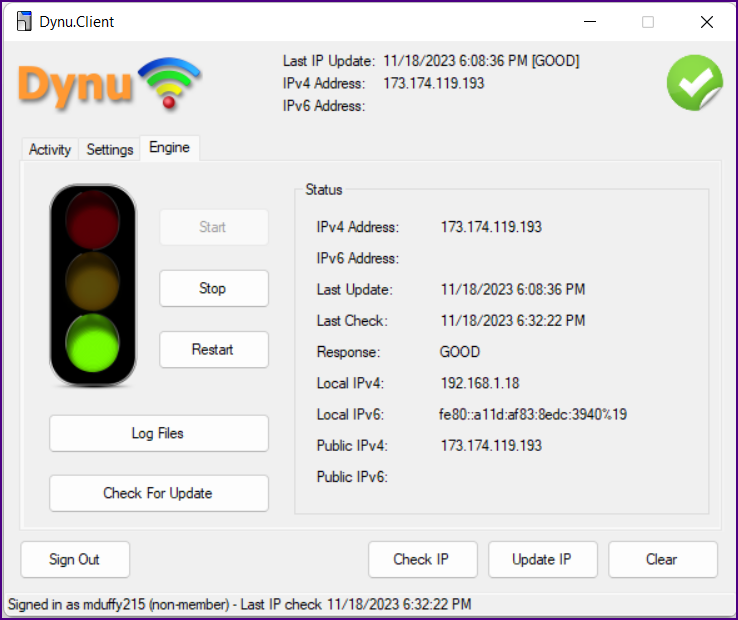
For all three tabs, the instructions provided
here by Dynu are really good.
|
|
Click on the "Settings" tab. The default settings should be good.
|
|
|
The Dynu website has good information about the "engine" tab:
"Engine must be started for the client to perform IP checks and IP updates. Starting the engine will start a
Windows service that runs quietly in the background to do IP updates. If the engine is turned on, the
IP updates will be running even if you exit the client."
|
|
|
|
|
|
|