 |
|
Configure Dynamic DNS
|
|
If you do not have your own domain name, go to Dynu;
the cost for a ".com" domain name registration is just $10.99 per year (reasonable) AND they have a free
dynamic DNS service which allows you to host your domain on your home server (incredible)! (DYN from Oracle is $60.00 per year!)
|
|
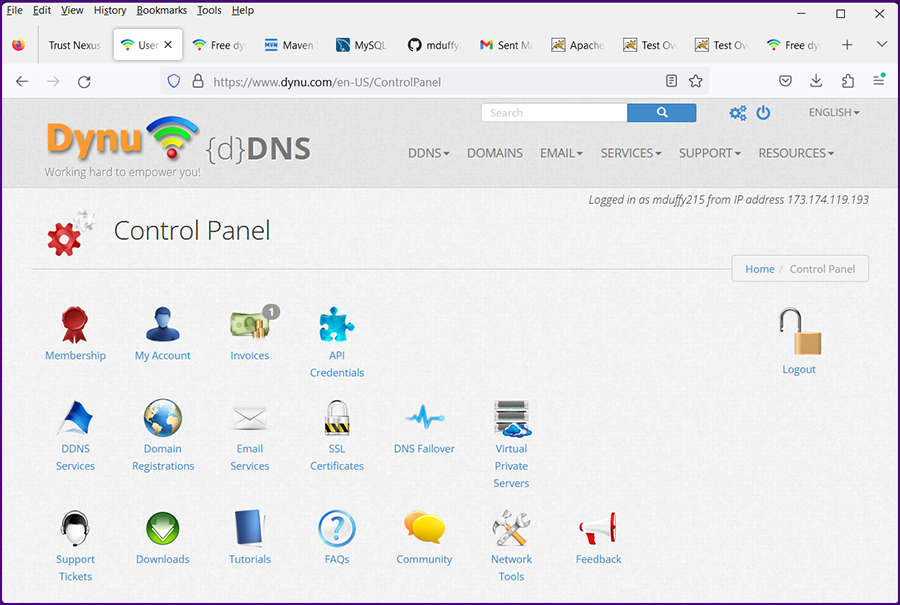
If you have registered your domain with Dynu setting up DNS is simple and fast.
Log in which takes you to your control panel.
|
|
|
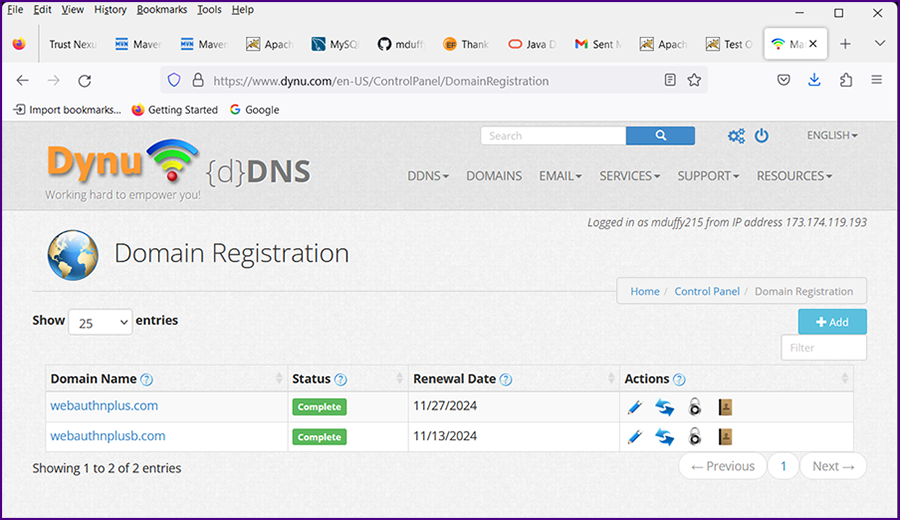
Click on "Domain Registrations". The "Domain Registration" screen will be displayed.
|
|
|
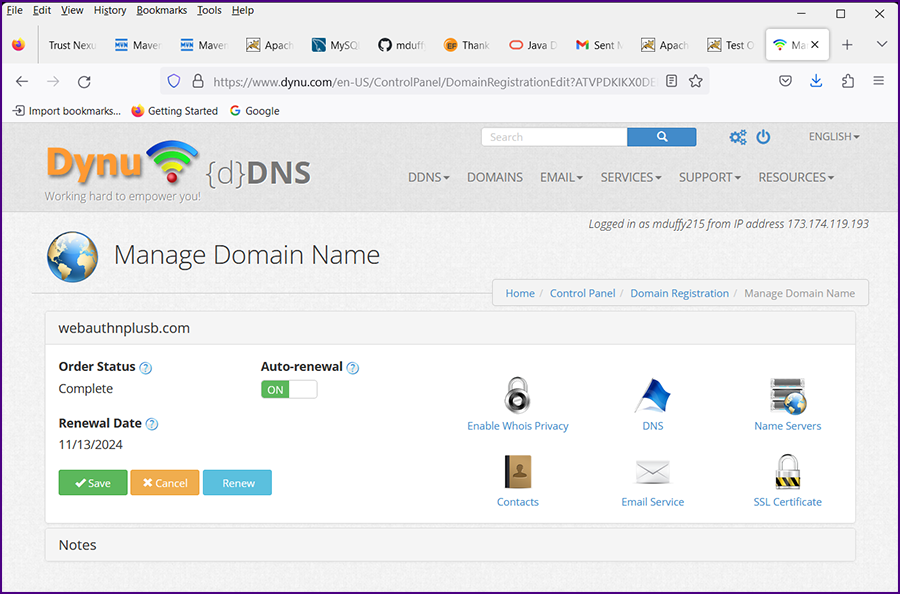
Click on your domain name. The "Manage Domain Name" screen will be displayed.
|
|
|
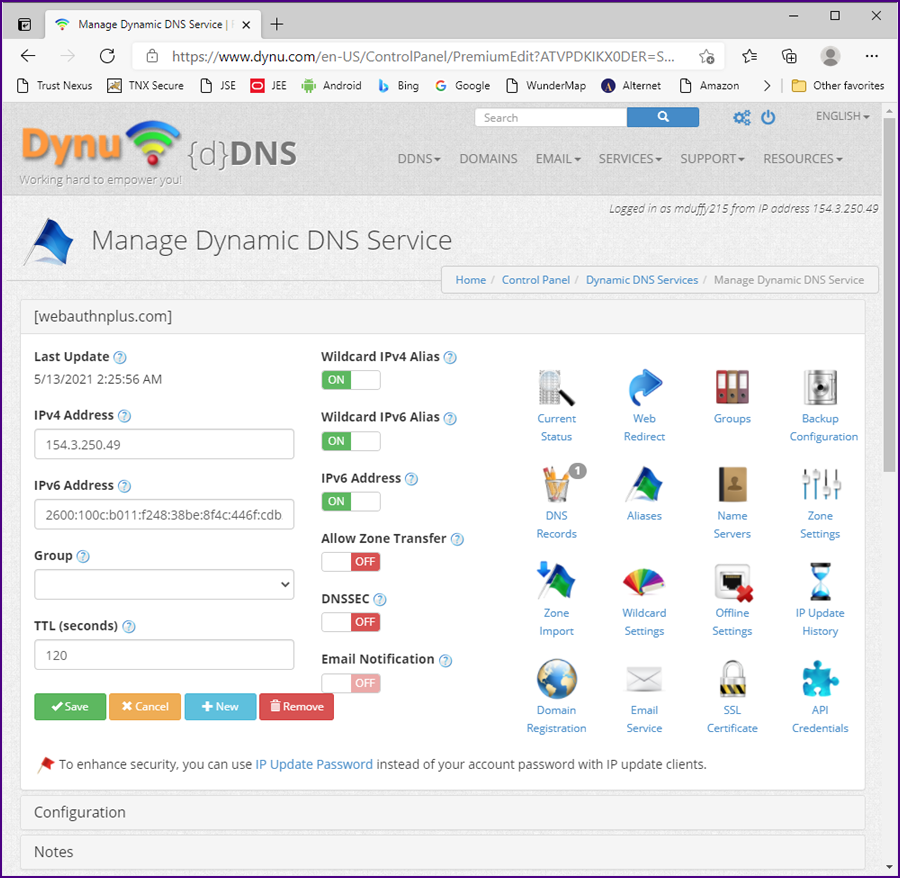
Click on "DNS". The "Manage Dynamic DNS Service" screen will be displayed.
|
|
|
Click on "Save". Your domain name and IP address are now propagating through the Internet.
|
|
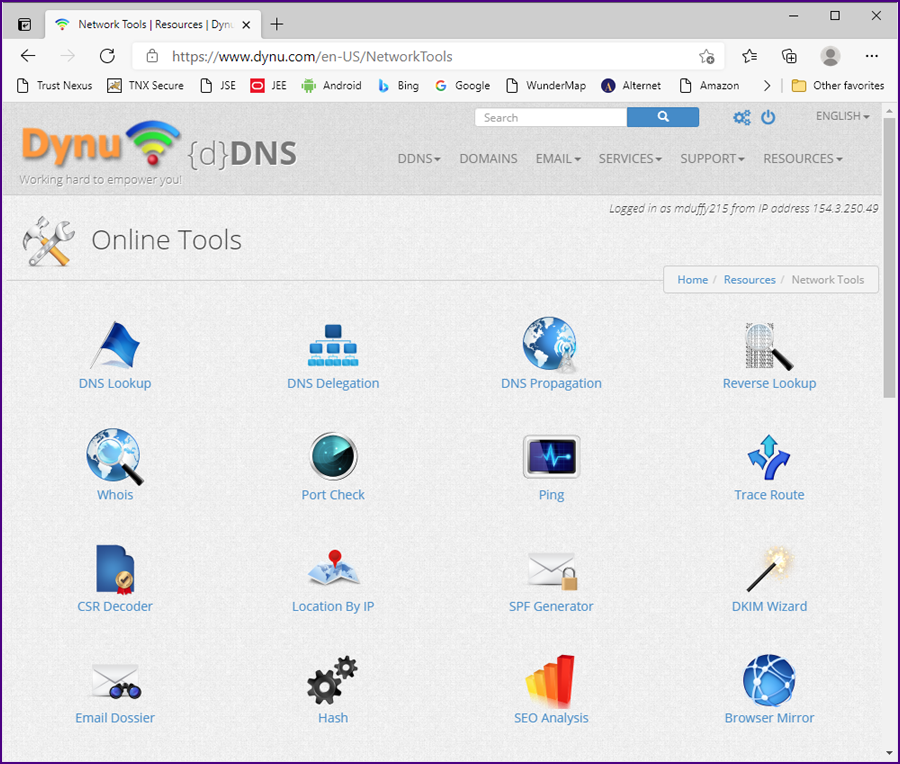
From the "RESOURCES" drop down menu select "NETWORK TOOLS". The "Online Tools" screen will be displayed.
|
|
|
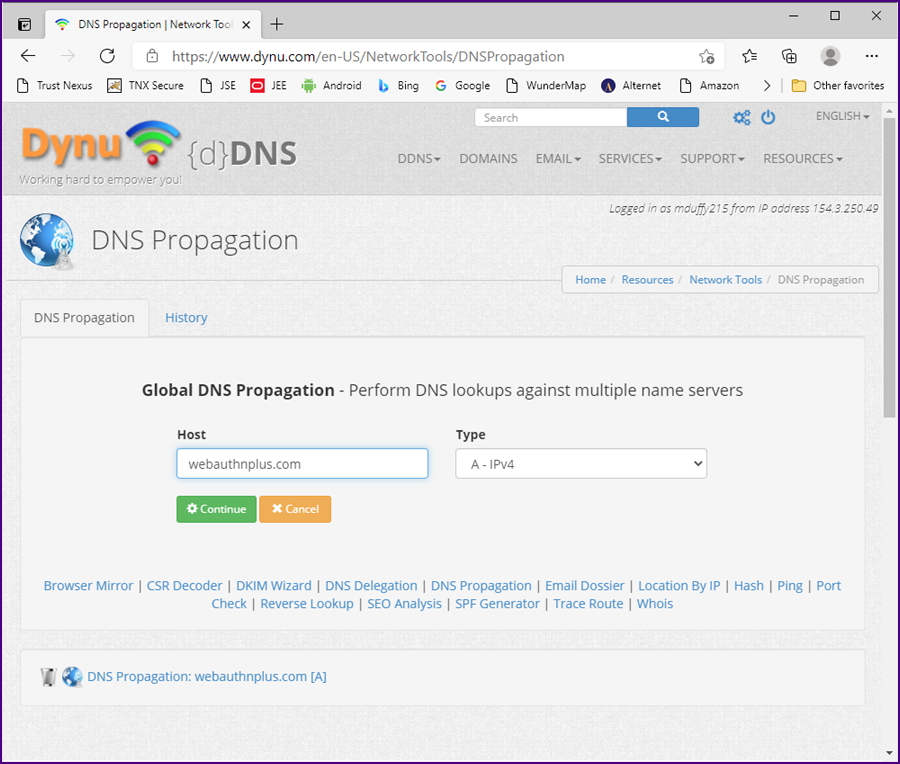
Click on "DNS Propagation". The "DNS Propagation" screen will be displayed.
|
|
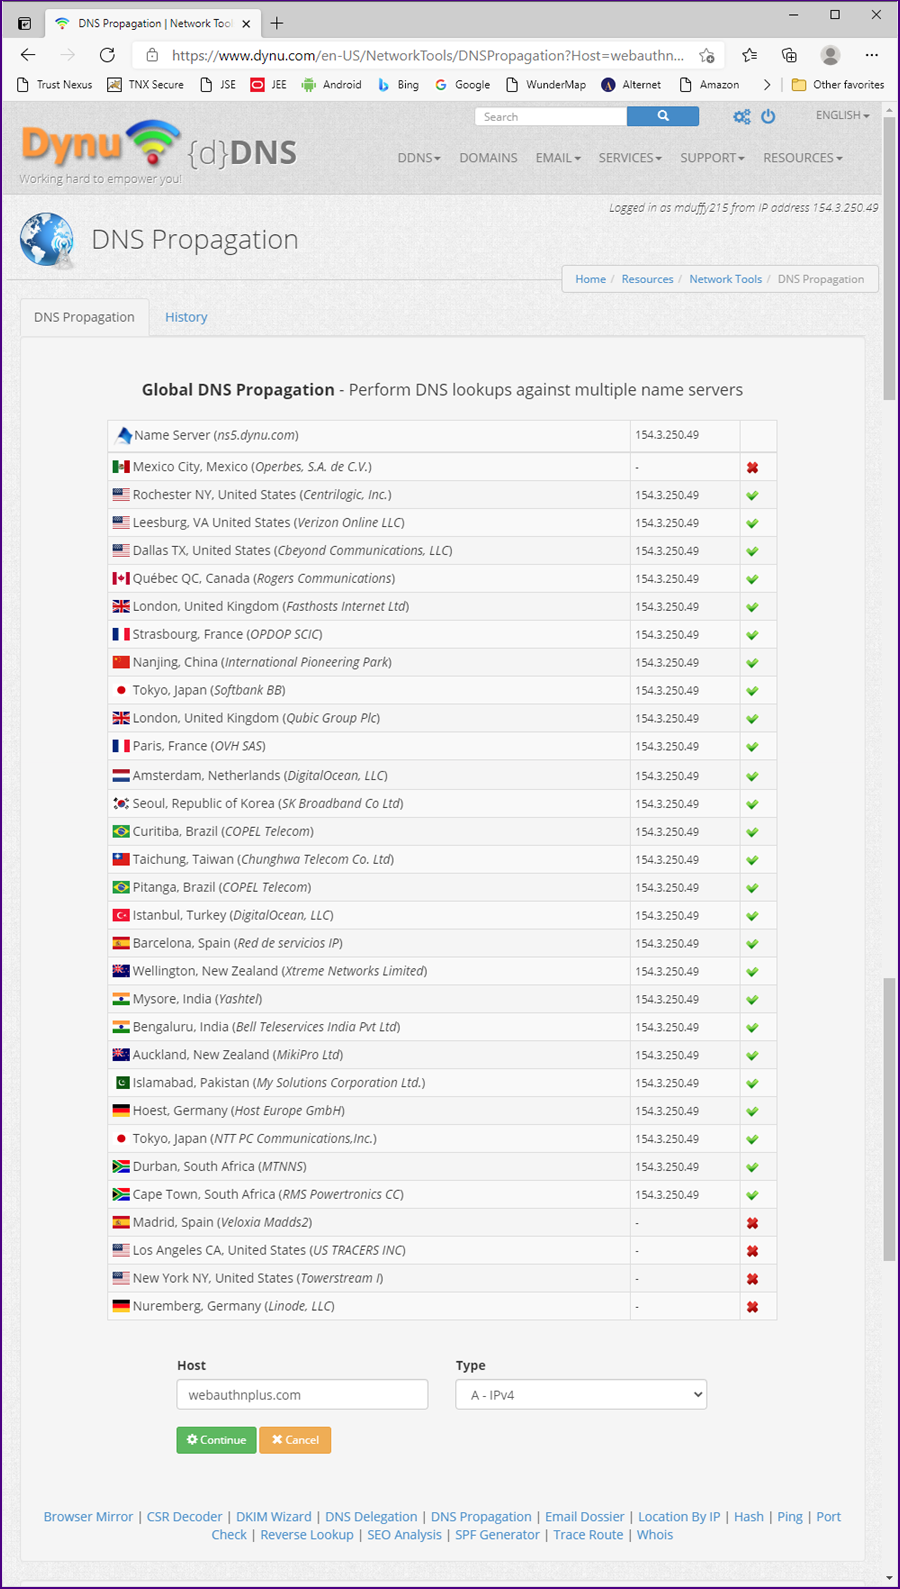
Enter your domain name. Click on "Continue". A list of your DNS servers will be displayed.
(If nothing shows up, wait a few minutes and try again.)
|
|
|
|
Configure a Static IP Address for your Computer
|
|
The IP address that is shown on your Dynu screens (e.g., "Logged in as mduffy215 from IP address 173.174.119.193") is the
IP address of your Internet modem (the location of your modem on the Internet).
The computers and wireless devices on your home network are managed by a router, which may be part of your Internet modem, but
in this case we will assume you have a stand alone router.
|
|
On your home network each device will have its own internal IP address.
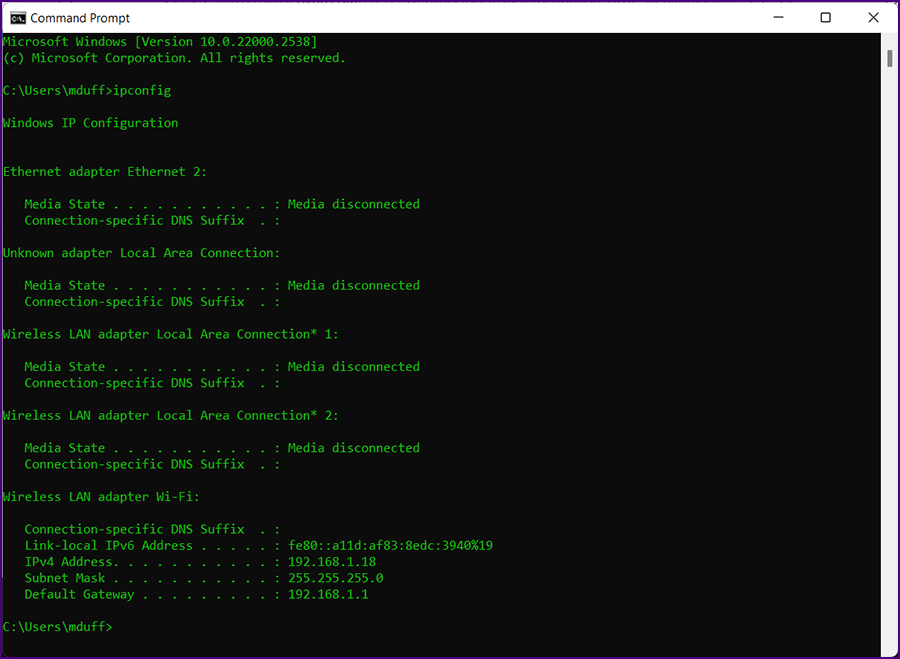
You can determine the IP address of the system where your Apache Tomcat application server is running by going to that system,
opening a command prompt and typing "ipconfig".
|
|
|
The IP address of your computer is the "IPv4 Address"; in this case "192.168.1.18".
|
|
The default settings in your router will result in each device on your network having a
dynamic IP address
(the values could change if your router resets after a power failure). For your DNS setup to work, the computer running your Tomcat server will need a static IP address on your local network.
|
|
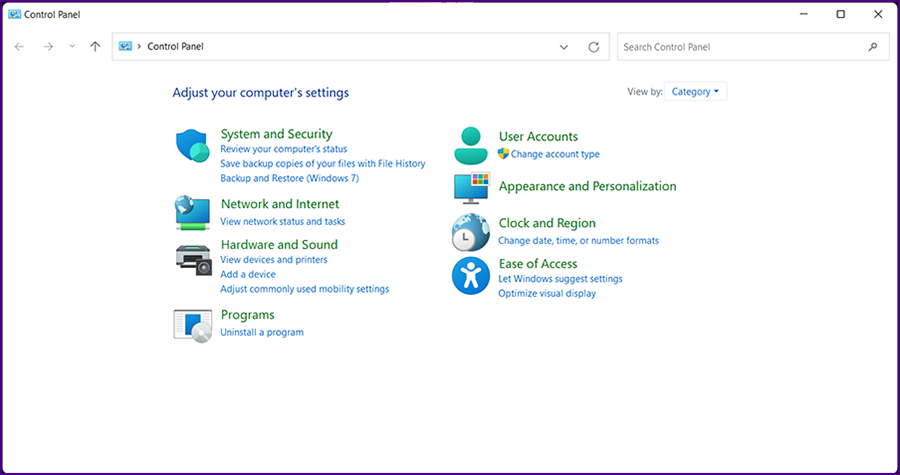
In order to set a static IP address, on Windows 11 open your Control Panel (from the start button).
|
|
|
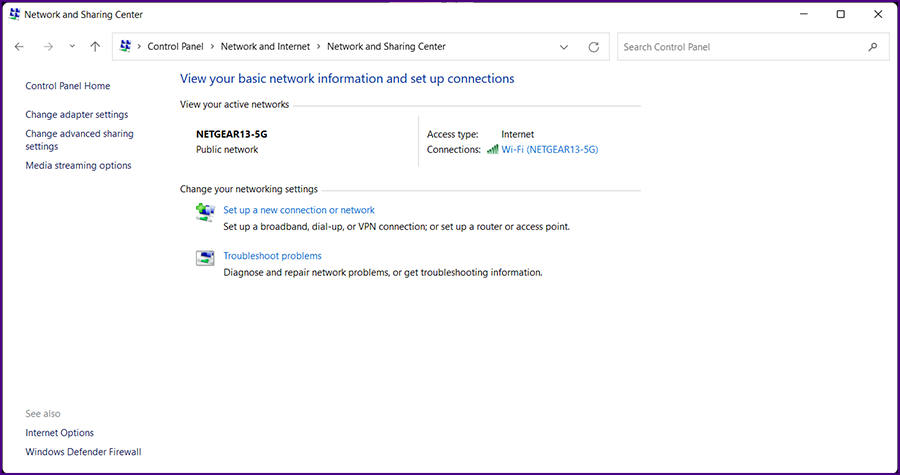
Then click on "View network status and tasks". The "Network and Sharing Center" will be displayed.
|
|
'
|
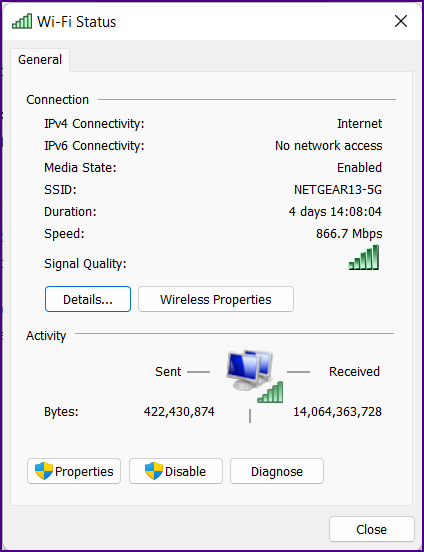
Click on the link next to "Connections"; in this cas "Wi-Fi (NETGEAR13-5G). The "Wi-Fi Status" screen will be displayed.
|
|
|
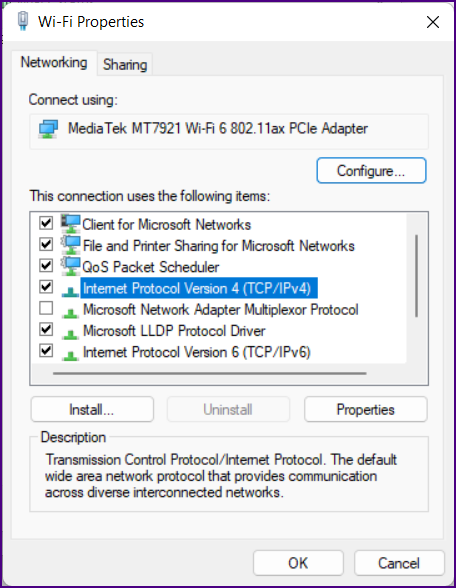
Click "Properties". The "Wi-Fi Properties" screen will be displayed.
|
|
|
Select "Internet Protocol Version 4 (TCP/IPv4)" then click "Properties". The screen below will be displayed.
|
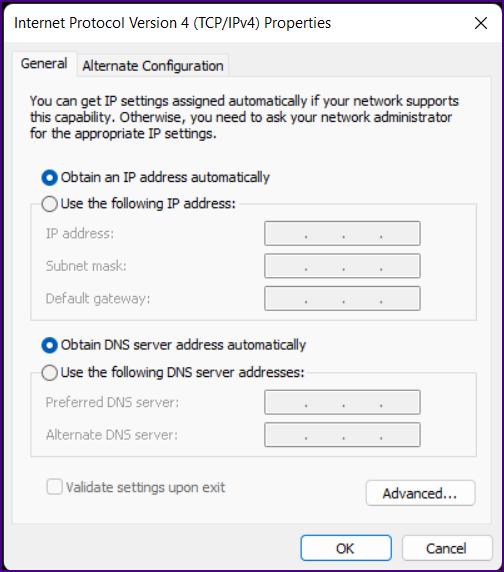
|
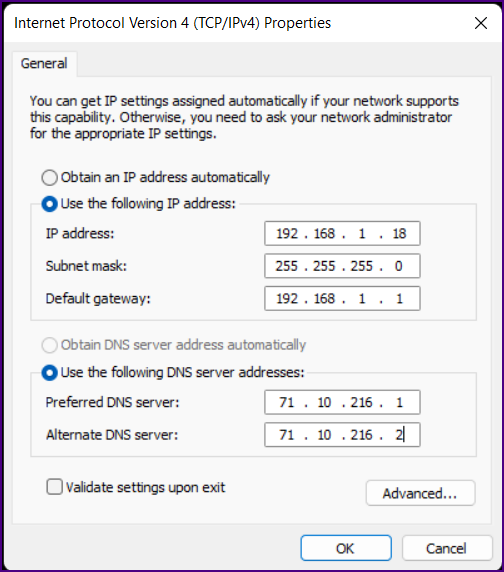
Select "Use the following IP address" and enter the following values.
IP address: 192.168.1.18 (from the value in the "ipconfig" results above);
Subnet mask: 255.255.255.0 (from the value in the "ipconfig" results above)
Default gateway: 192.168.1.1 (from the value in the "ipconfig" results above)
|
|
For your DNS servers select values from
USA ISP and Best Public DNS Server Settings for 2021.
It is probably best to select DNS servers associated with your ISP.
|
|
|
Click "OK".
|
|
|
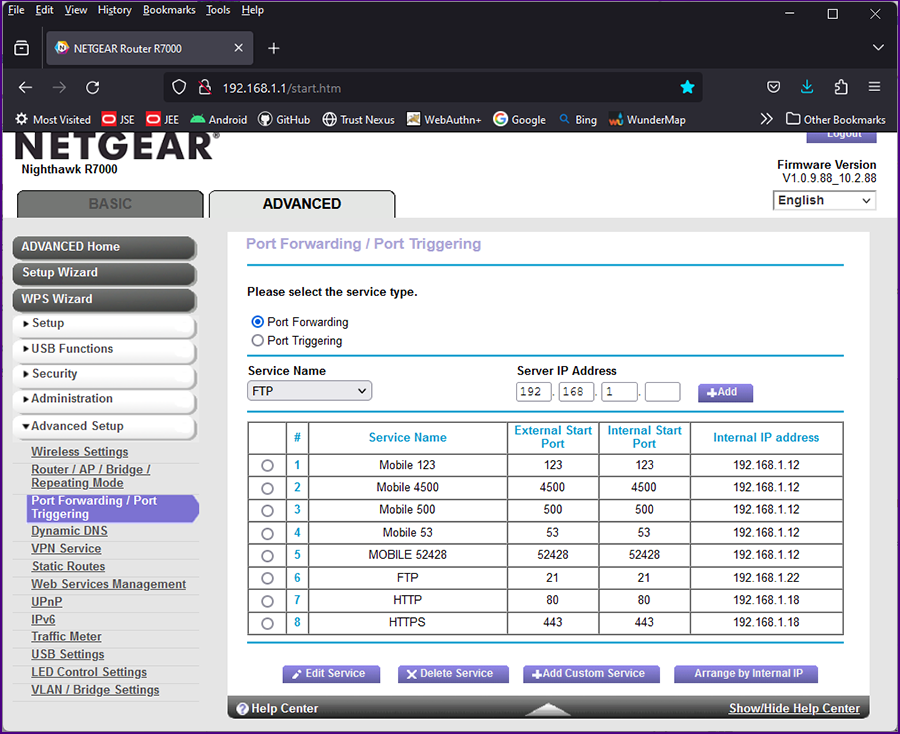
Configure Port Forwarding on Your Router
|
|
Now that you have a static IP address for your computer (where Tomcat is running), in this case "192.168.1.18", you can configure your router to forward all
HTTP and HTTPS requests to this IP address.
|
Open your router administration screen. Hopefully you bookmarked this page when you set up your router.
If not, try http://192.168.1.1/start.htm.
Look for a section for "Port Forwarding". On the NETGEAR Nighthawk R7000 this screen is under the "Advanced" tab (top) and then under "Advanced Setup" (left).
|
|
|
Edit both The HTTP and HTTPS service, setting the IP address of the system where your Apache Tomcat application server is running.
|
|
Important Note: You may need to adjust your firewall settings to allow TCP traffic to port 80 on your system.
|
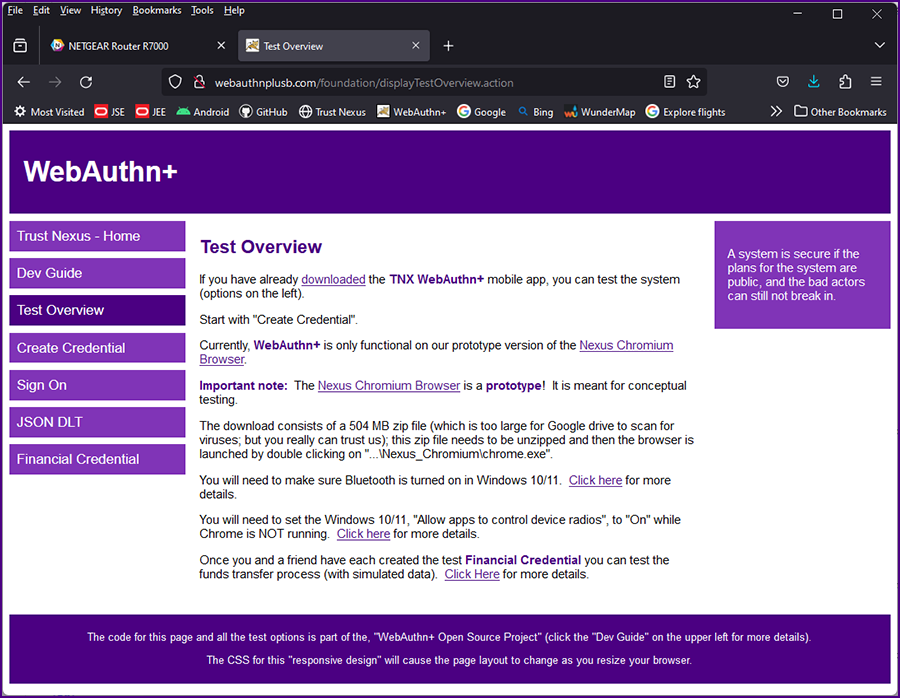
Anyone in the world can now go to your domain name and hit your website that is running on a computer on your home network:
http://[your domain name].com/foundation/displayTestOverview.action
|
|
|
We will soon get rid of the annoying "Not Secure" warning, but first, what happens if your Internet provider changes your IP address?
|
|
|
|
|
|