 |
|
Install Android Studio
|
|
Unlike Eclipse, Android Studio does not have an integrated version of Git within the IDE; so first, let's install Git on Windows.
|
|
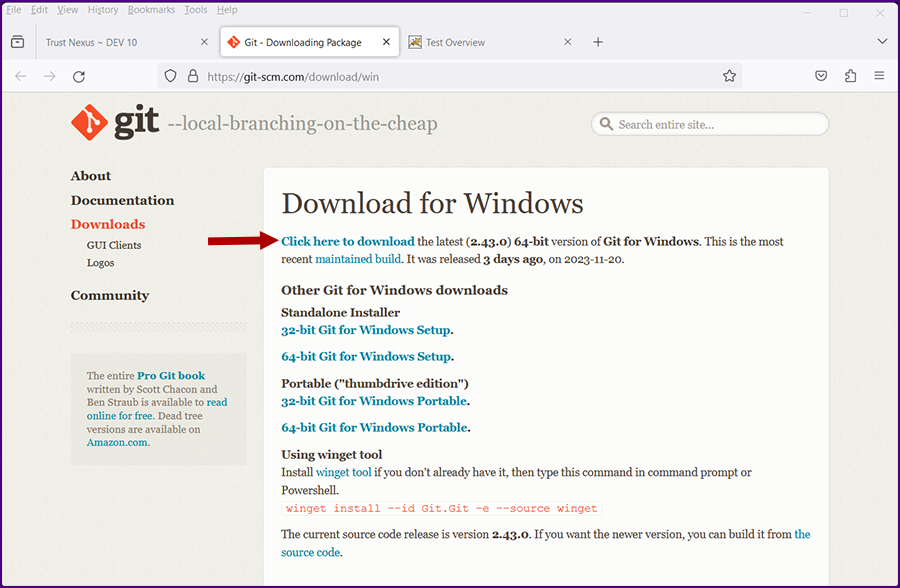
Go to git - Download for Windows.
|
|
|
Download the executable and run it (accept the defaults).
|
|
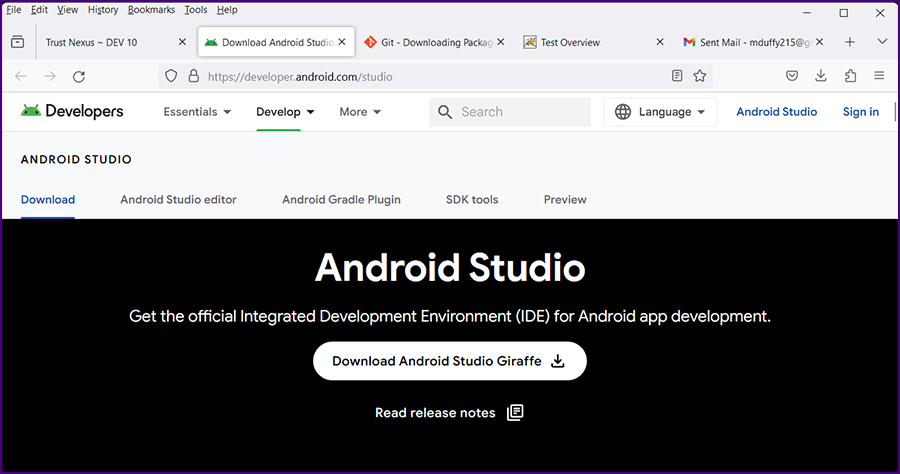
Go to Android Studio.
|
|
|
Download the executable and run it.
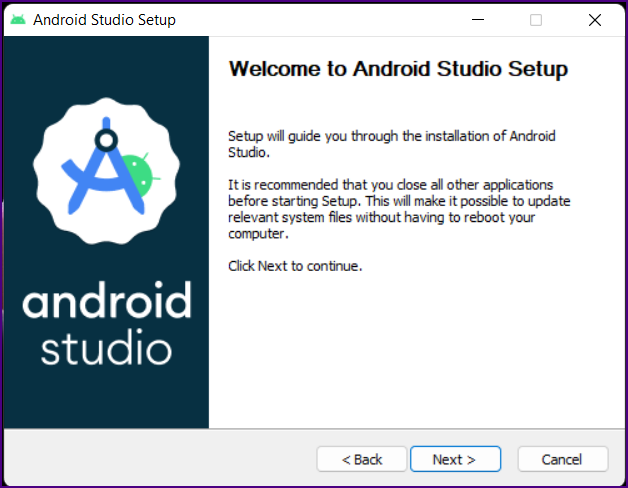
The "Welcome to Android Studio Setup" screen is displayed.
|
|
|
Click "Next".
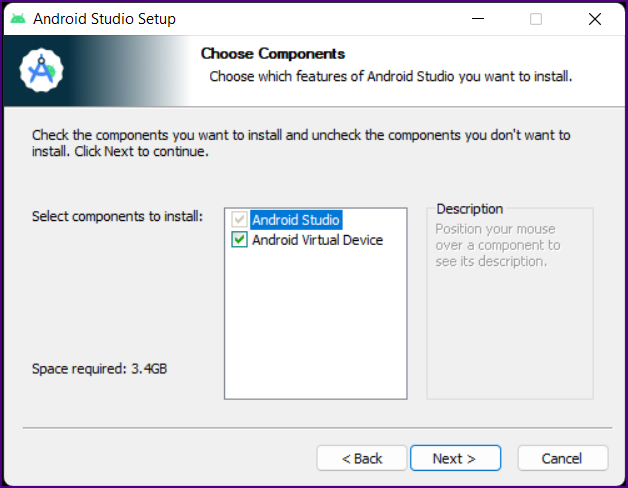
The "Choose Components" screen is displayed.
|
|
|
Click "Next".
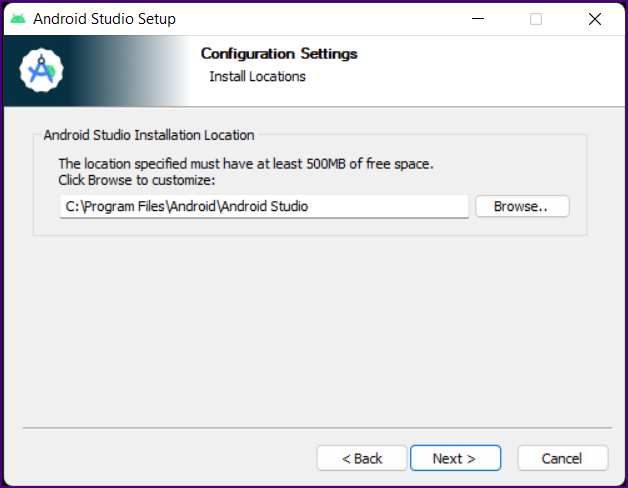
The "Configuration Settings" screen is displayed.
|
|
|
Click "Next".
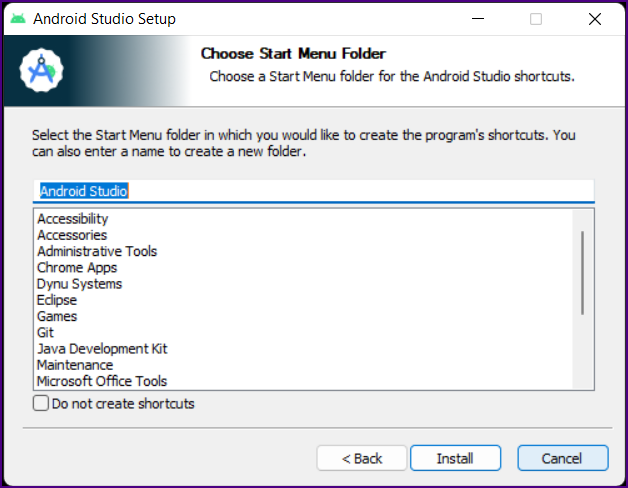
The "Choose Start Menu Folder" screen is displayed.
|
|
|
Click "Install".
The "Installation Complete" screen will eventually be displayed.
|
|
|
Click "Next".
The "Completing Android Studio Setup" screen is displayed.
|
|
|
Click "Finish".
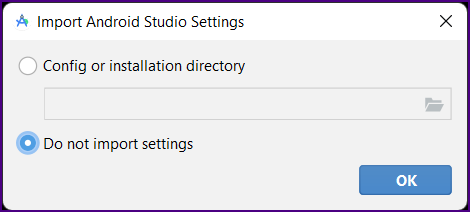
The "Import Android Studio Settings" screen is displayed.
|
|
|
Click "OK".
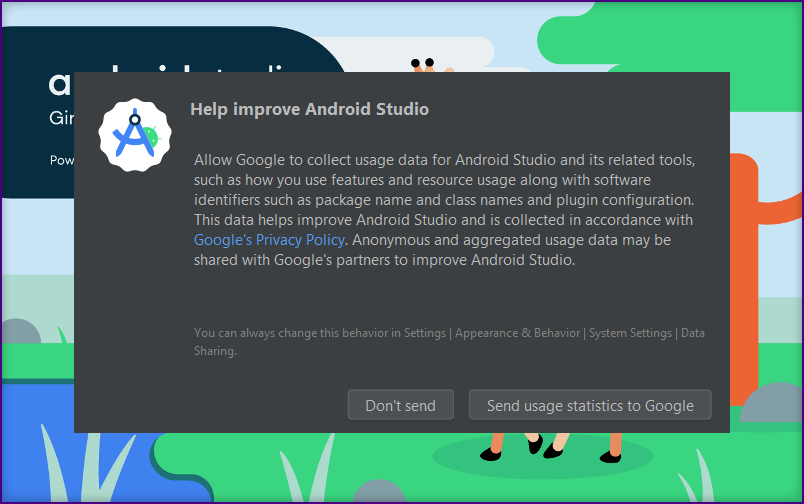
The "Help Improve Android Studio" screen is displayed.
|
|
|
Make a choice and click "OK".
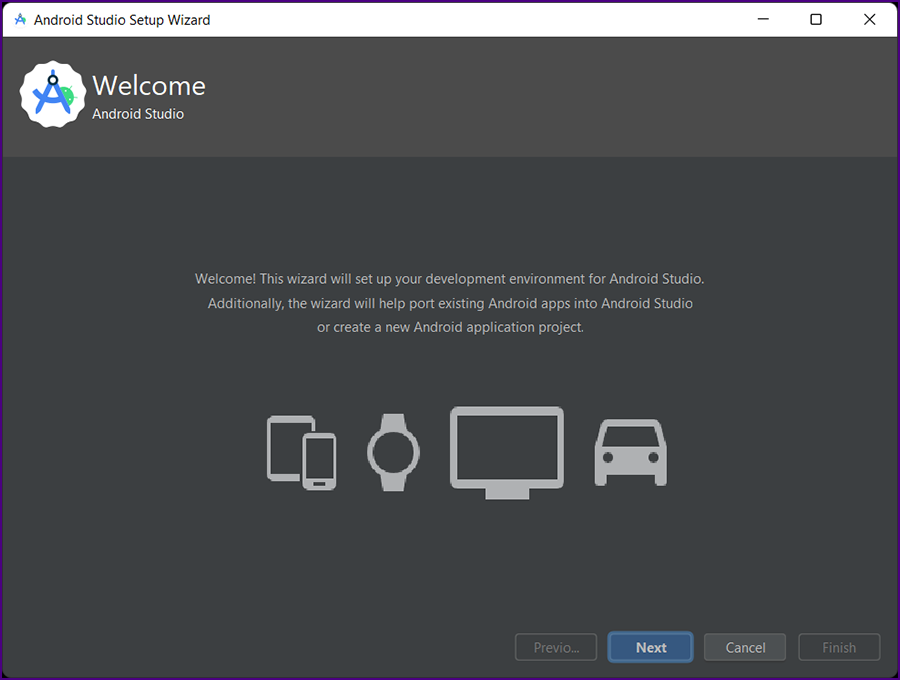
Android Studio will start. The "Welcome" screen is displayed.
|
|
|
Click "Next".
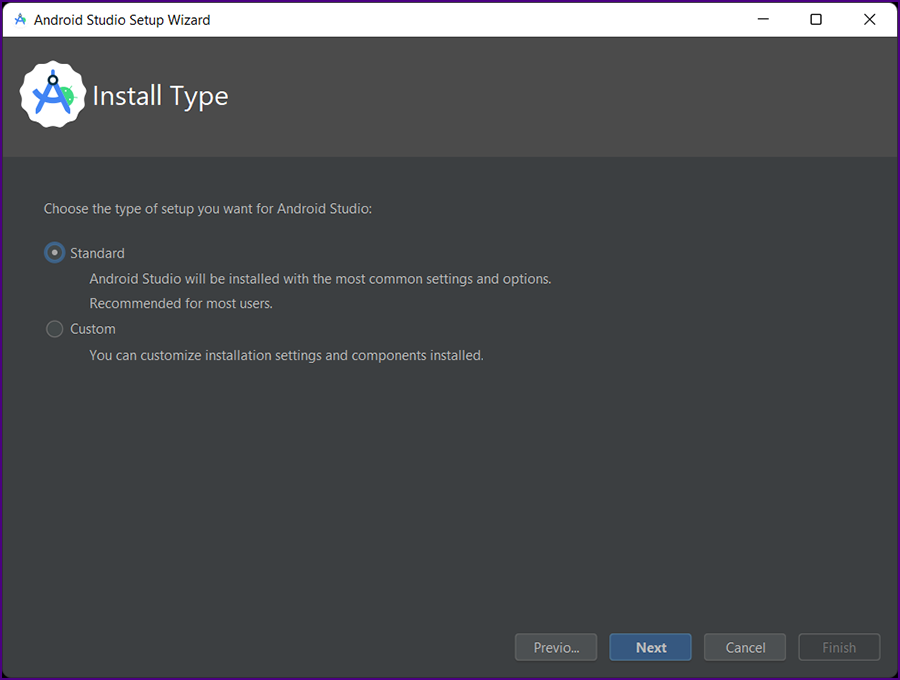
The "Install Type" screen is displayed.
|
|
|
Click "Next".
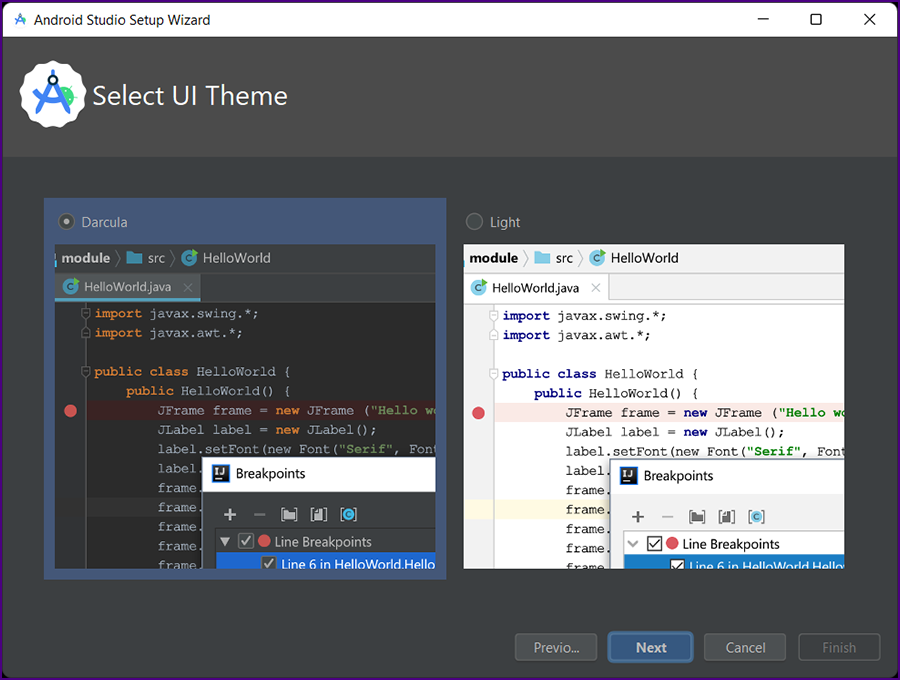
The "Select UI Theme" screen is displayed.
|
|
|
Click "Next".
The "Verify Settings" screen is displayed.
|

|
|
Click "Next".
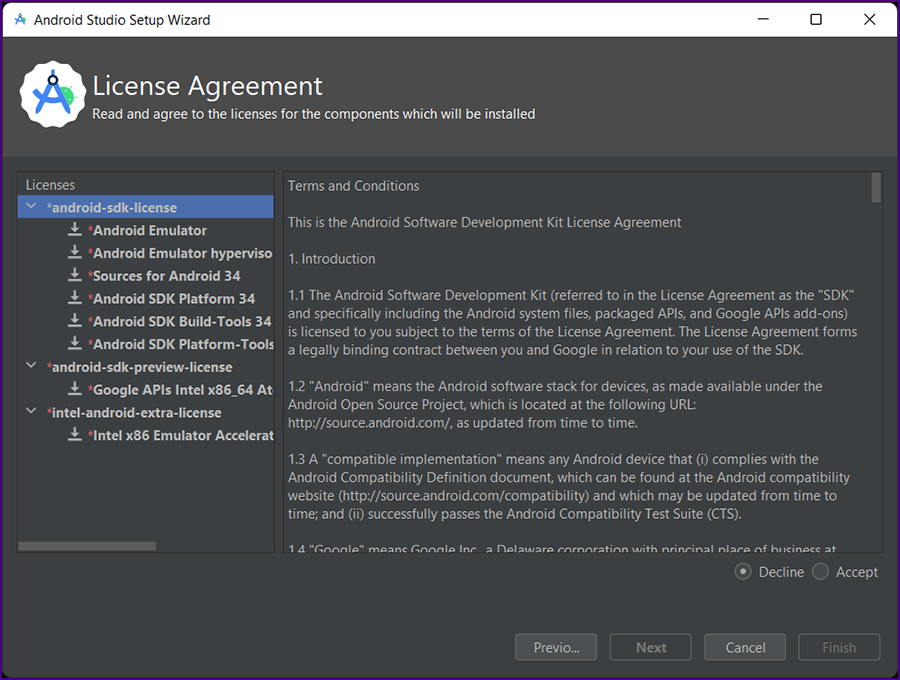
The "License Agreement" screen is displayed.
|
|
|
Accept all thre license agreements and click "Finish".
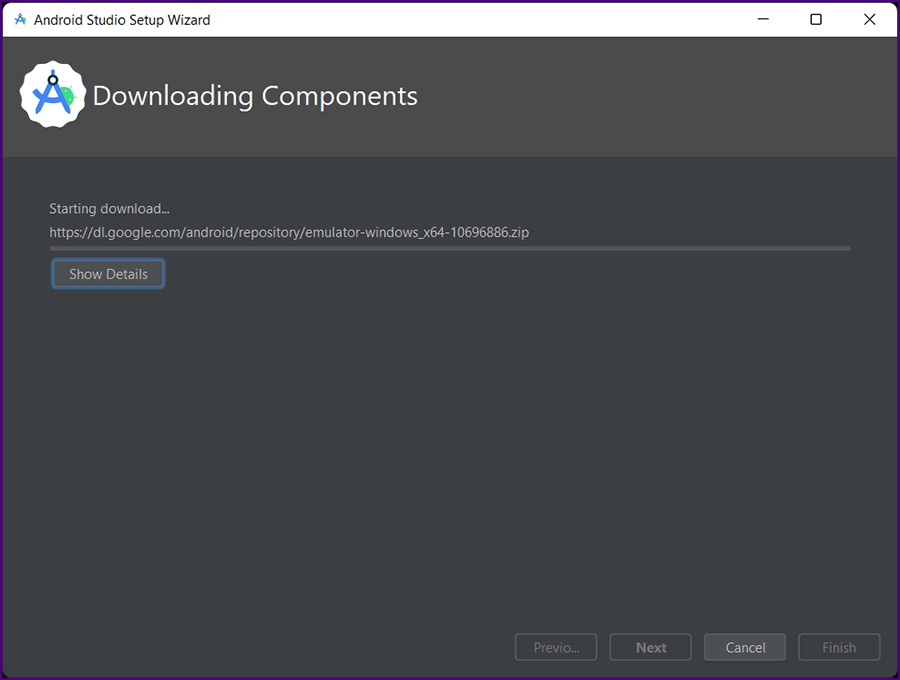
The "Downloading Components" screen is displayed.
|
|
|
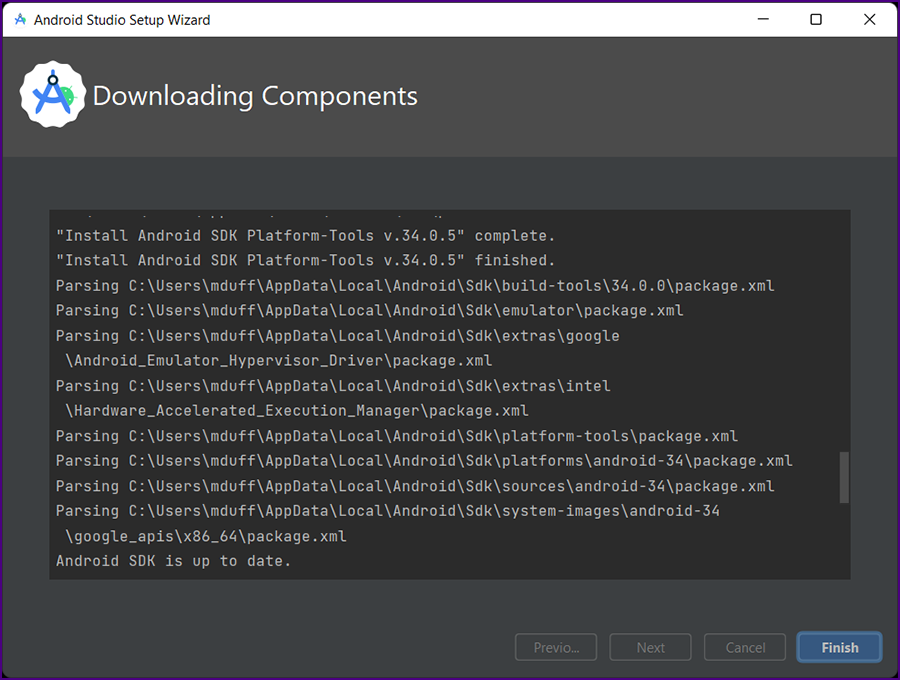
The "Downloading Components" will eventually finish.
|
|
|
Click "Finish".
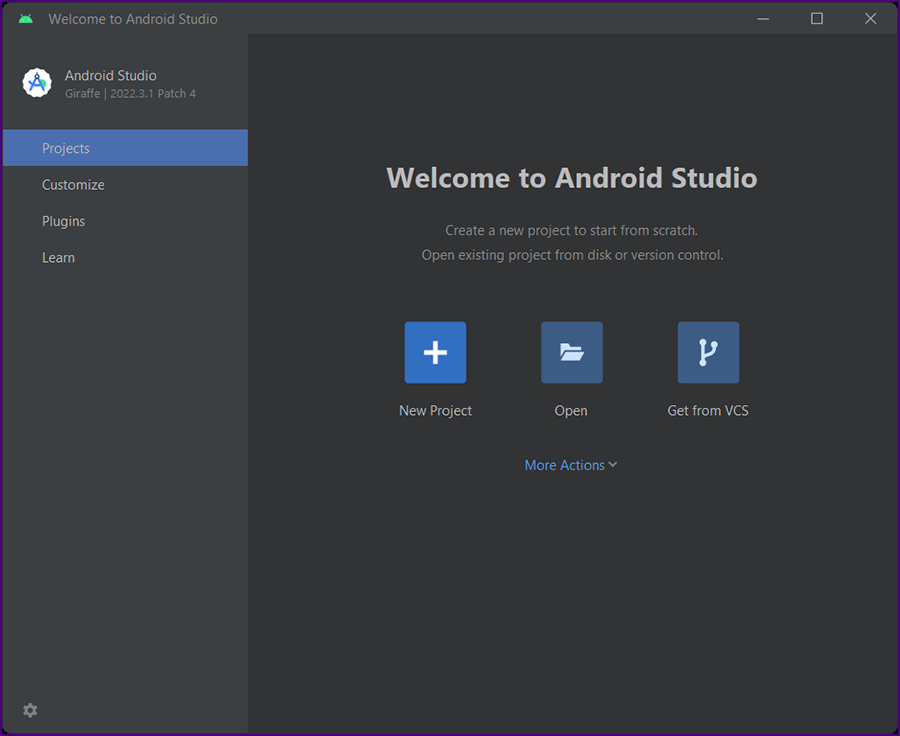
The "Welcome to Android Studio" screen is displayed.
|
|
|
Before selecting "Get from VCS" retrieve the repository url from GitHub.
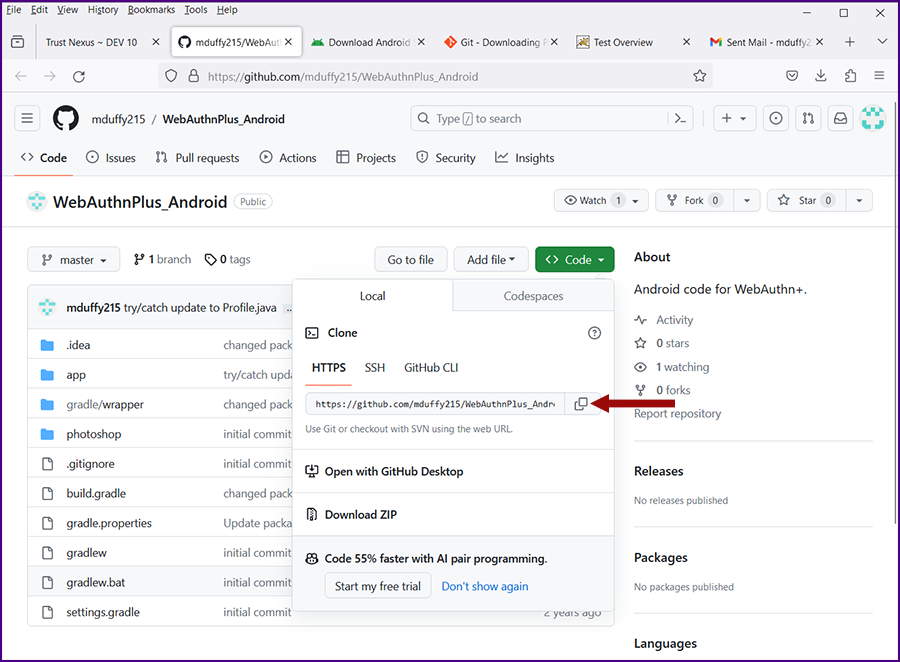
Go to WebAuthnPlus_Android.
|
|
|
Click on the green "Code" button. Then click on the icon for "copy to clipboard"; this will copy the repository URL to your clipboard.
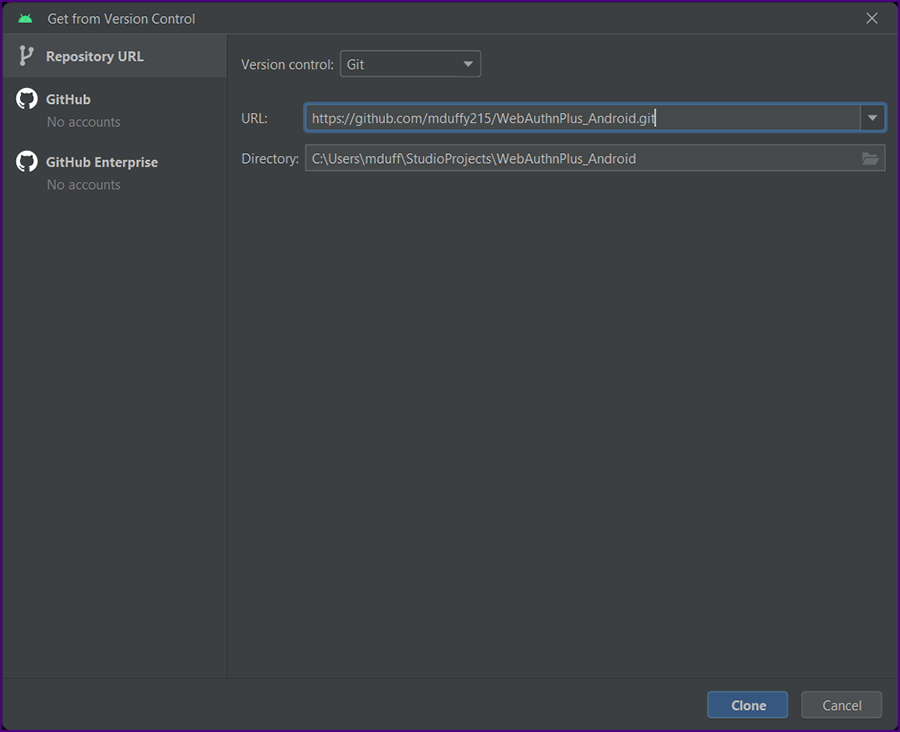
Go back to the "Welcome to Android Studio" screen and select "Get from VCS". The "Get from Version Control" screen will be displayed.
|
|
|
Because the repository URL was copied to your clipboard (above), this form should auto-populate; if not, paste the URL into the form and click "Clone".
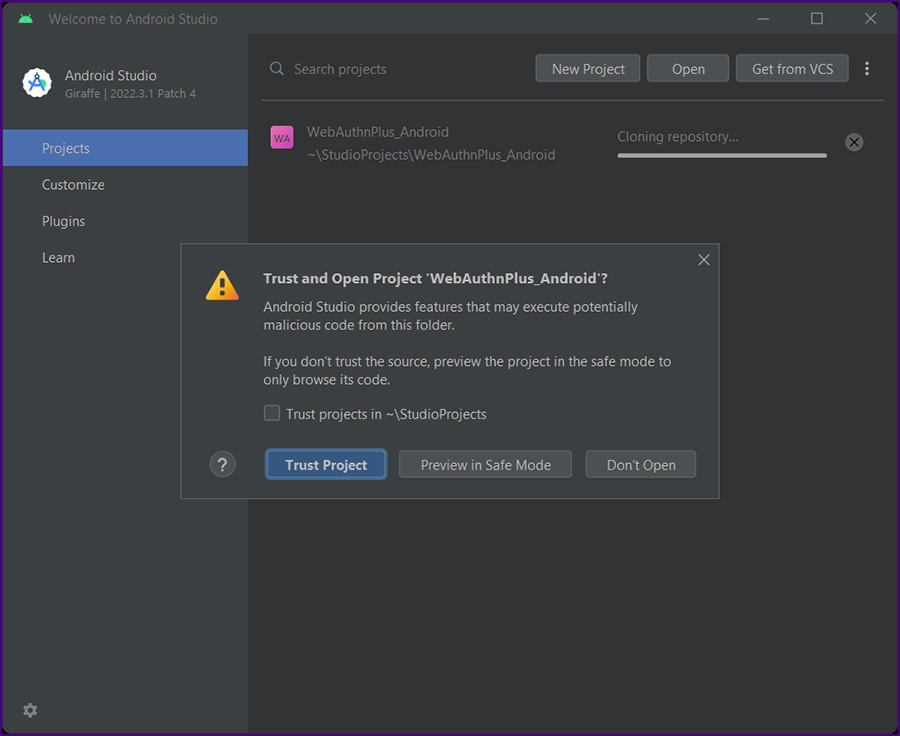
The project will download and the "Trust and Open Project" screen will be displayed.
|
|
|
Click on "Trust Project".
The Android Studio IDE will be displayed. You may see a warning from Windows Defender.
|
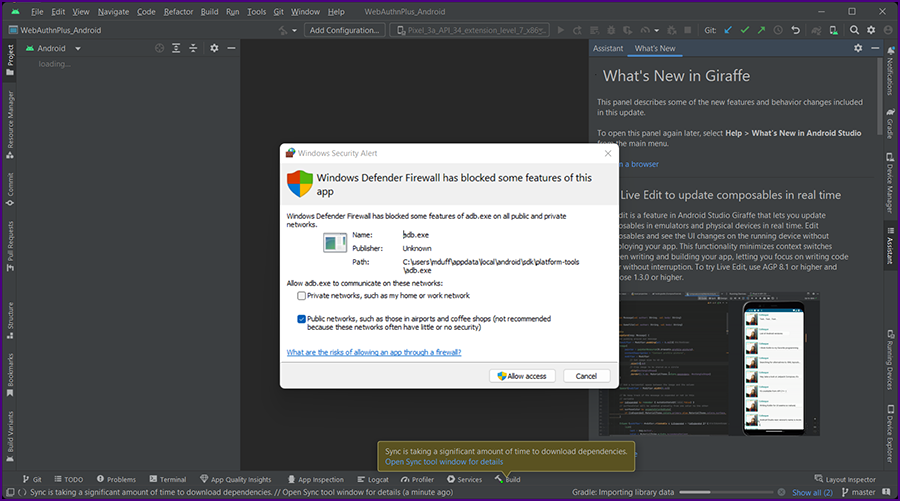
|
|
Click on "Allow Access".
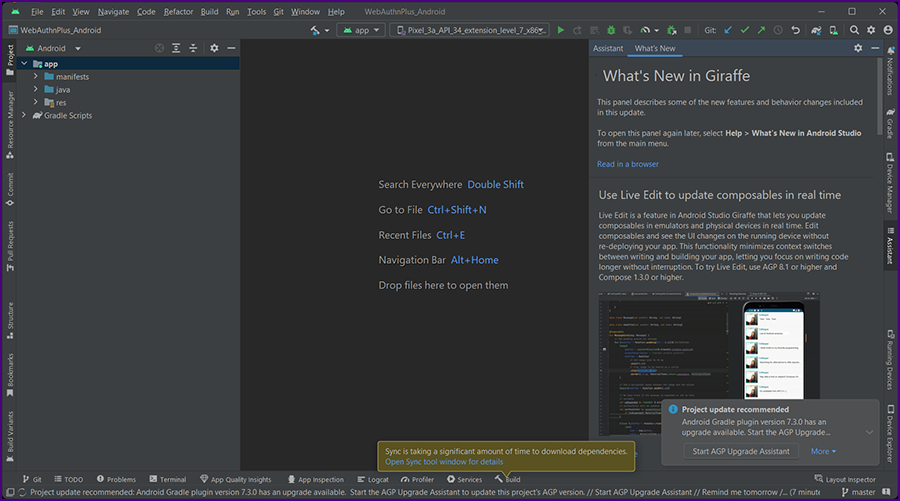
The Android Studio IDE will be displayed.
|
|
|
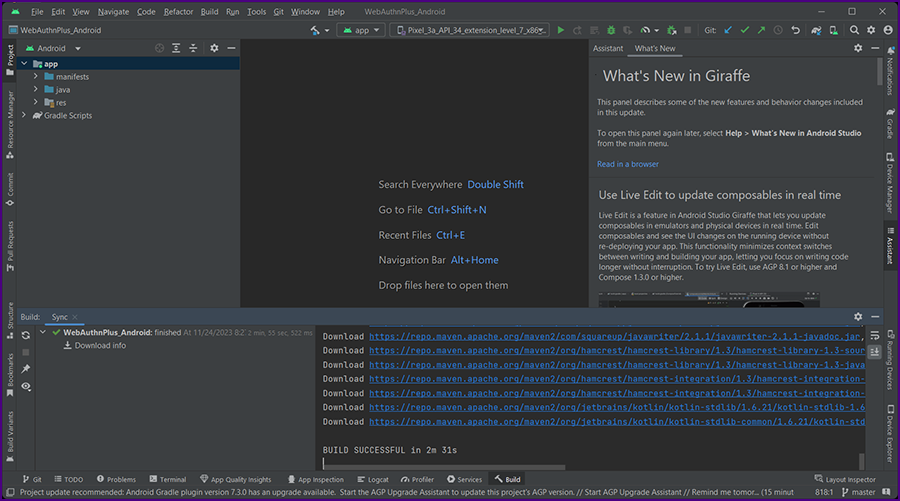
If you see a warning, "Synch is taking a significant amount of time to download dependencies.", click on the blue link for "Open Synch tool window for detils".
Eventually the dependencies will downlowad.
|
|
|
Close the Synch dialog. Click on the message at the bottom of the screen, " Project update recommended:..." A notification panel will be displayed.
|
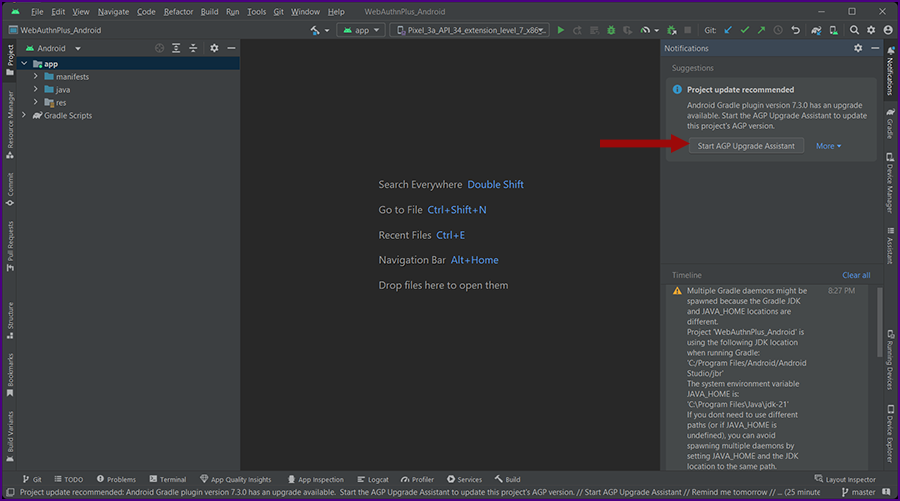
|
|
Click "StartAGP Upgrade Assistant" and follow the on screen instructions.
|
|
You should eventually see a message, "Sync succeeded".
|
|
The project name is displayed in the upper left: "WebAuthnPlus_Android" project.
|
|
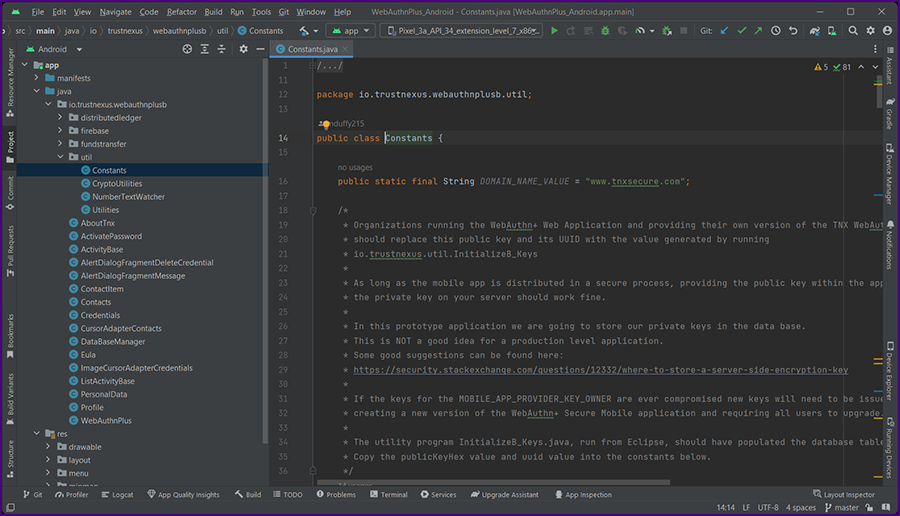
In the "Project" directory, expand "app >> java >> io.tnxsecure.webauthnplusb >> util". Double click on Constants.
|
 |
|
There are comments in this file for changing key values based in your application.
Make the changes.
|
|
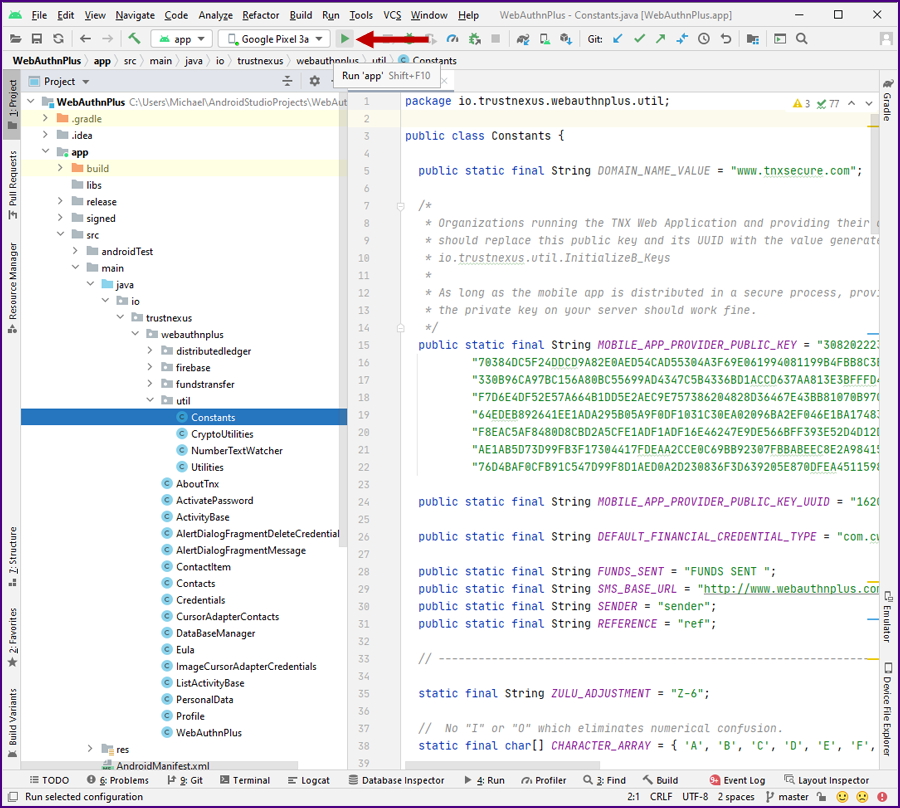
Before you can download version of the app from Android Studio to your phone you will need to
Configure on-device developer options for your phone.
Make the changes. Connect your phone to your computer through a USB cable and click the "Run" icon in Android Studio (green arrow; see the image below).
|
|
|
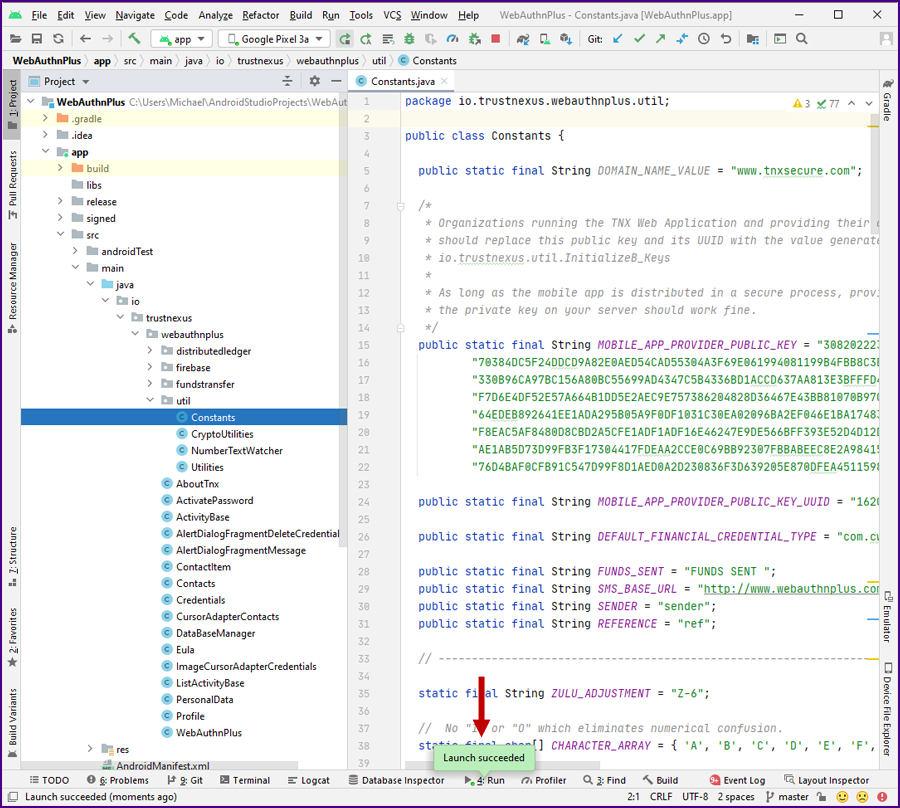
The app will build and be deployed to your phone. You will see a message at the bottom of the Android Studio screen,
"Launch succeeded" (see the image below).
|
|
|
In order to make the Android app fully funtional you will need to get your own Firebase auhtorization key;
click here for details. Once you have your key, go to Eclipse and set the value in
"foundation/src/main/resources/config.properties" then run the Maven "Deploy WAR".
|
|
Actually, the instructions from Goggle are quite horrible With as mnay people as they have employed, you would thin they could do some usability testing.
Try these instructions instead: Android - Enabling Google Cloud Messaging (Firebase) in Your Android Apps.
|
|
There is a great deal to learn about cryptography, Java and Android.
We hope that the WebAuthn+ application will provide a solid foundation for your learning experience. Good luck!
|
|
|
|
|
|